How are the WoodUpp products installed?
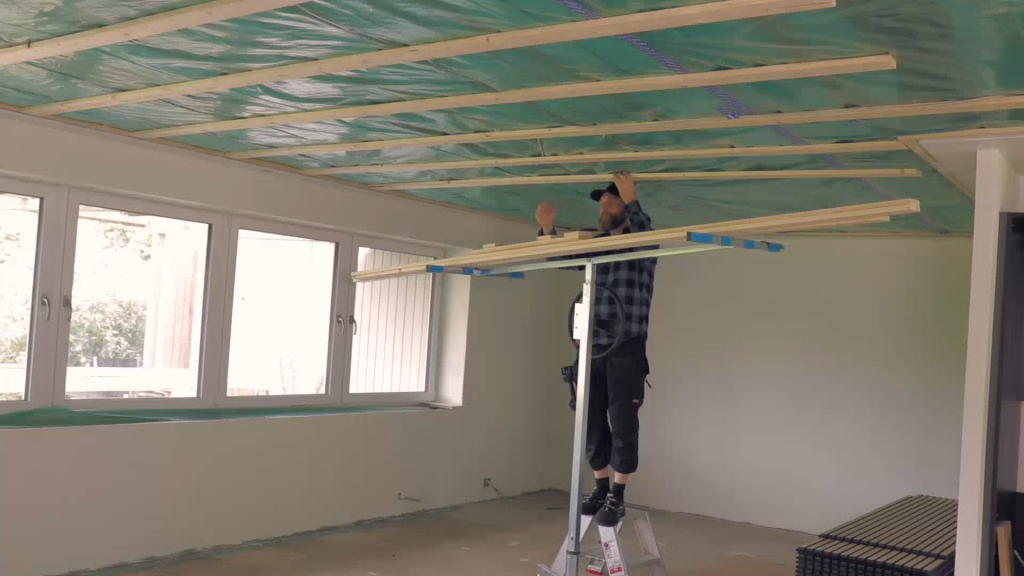
Installation on ceiling
You will need this:
To install the panels, you need the following:
- Formwork (we recommend 45mm in thickness).
- A saw – either a circular saw or a normal hacksaw.
- A screwdriver.
- Screws to attach both panels and joists/formwork to the wall.
- Black plaster screws of approx. 30 mm. for mounting acoustic panels.
- Possibly. small screws of approx. 15 mm. for attaching slats in connection with cutting panels.
- Ruler/tape measure.
- Pencil.
Step 1: Set up the formwork
Start by drilling for if you need to use rawplugs for setting up your rules. If not, you can screw the rules directly onto the ceiling. A distance between the rules of 40cm is recommended.
Step 2: Mounting the panels
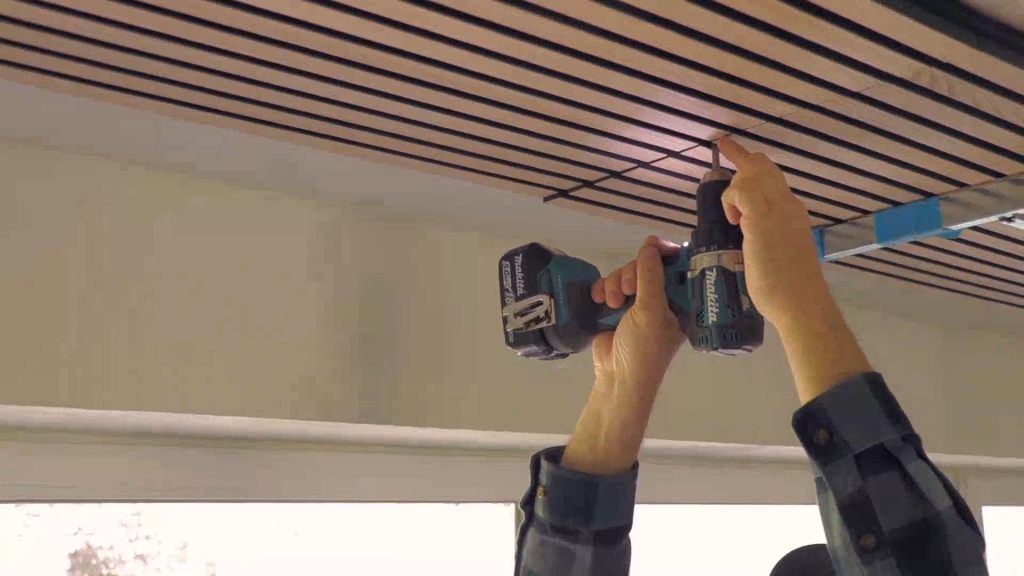
Screw the acoustic panels to the joists in the ceiling by screwing the black plaster screw (35 mm) through the black acoustic felt and into the battens.
We recommend 15 screws per panel.
The acoustic panels have a felt side and a slat side.
The sides of the acoustic panels therefore fit together, so that the joints themselves will be hidden behind the lamella of the previous panel.
When you install the panels, push the panels together (felt side to slat side) until there is 13 mm between the slats in the joint. Do NOT push the panels all the way together. To keep the right distance, you can take a slat of a color sample and put it between the two panels.
If you want a game in the pattern on the ceiling, you can shift the position of the panels from each other.
Step 3: Cutting the panels
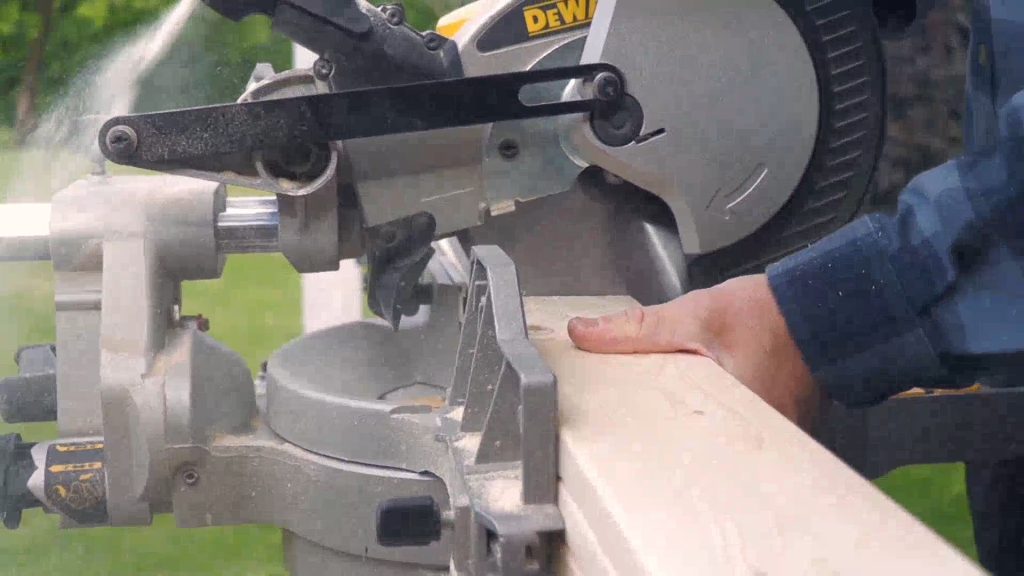
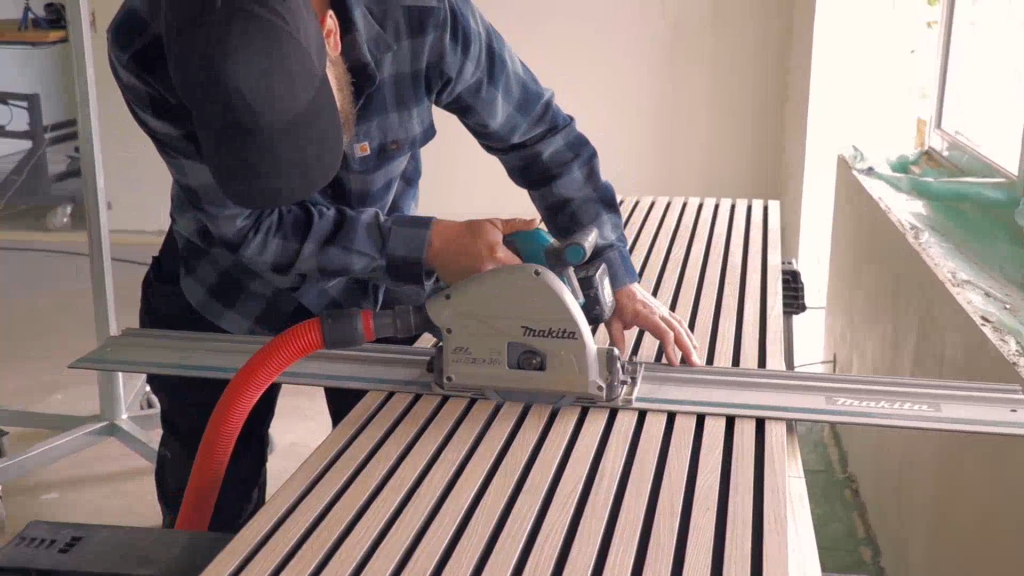
If you need to adjust the length of the panels, you can saw the panel over using a circular saw or a fux tail (a normal saw).
Mark the saw line on the panel using a pencil so you can saw straight.
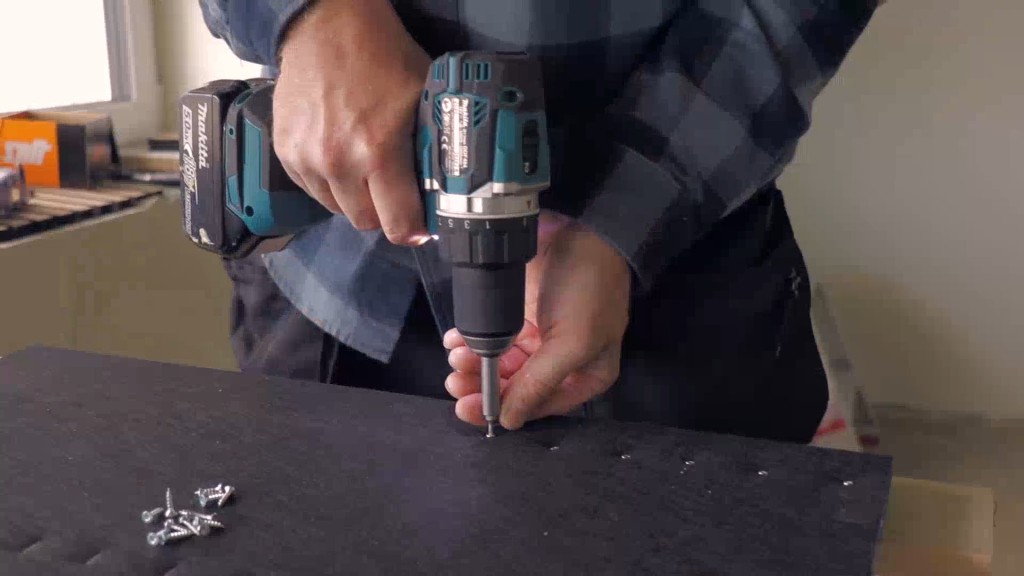
Remember to screw the slats in place after cutting
After cutting the panel, it’s a good idea to screw the ends of the slats back in place (through the felt and into the slats) using about 15mm long screws. Otherwise, the slats may hang loosely.
Repeat through each slat.
Step 6: Cutting the panels to width
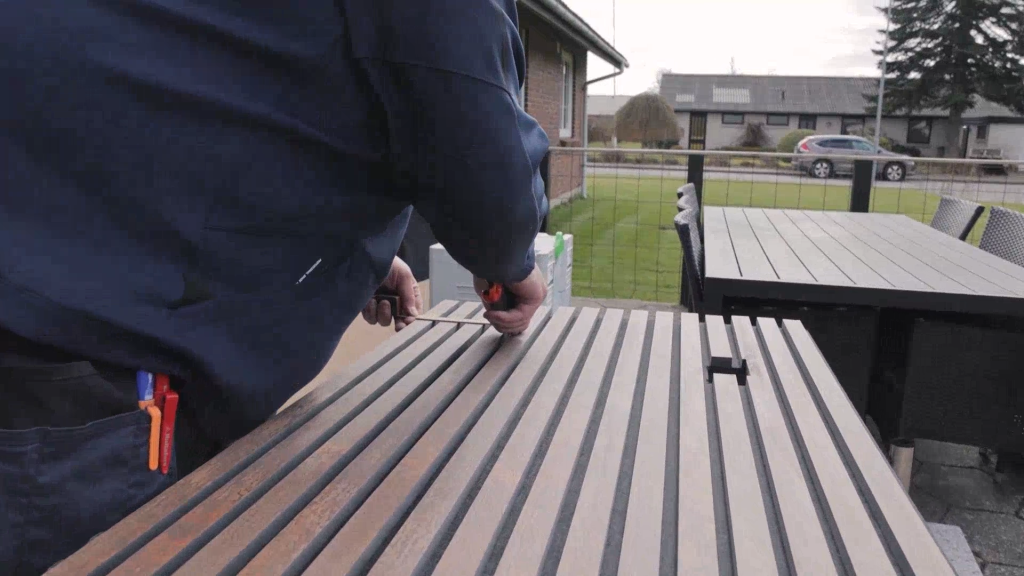
When you reach the end of your wall, you may need to cut the panel to fit in width.
You can adjust the panels in width by cutting the felt with a knife.
Then screw the last part of the panel to the wall – again using black gypsum screws through the felt.
Now you are done
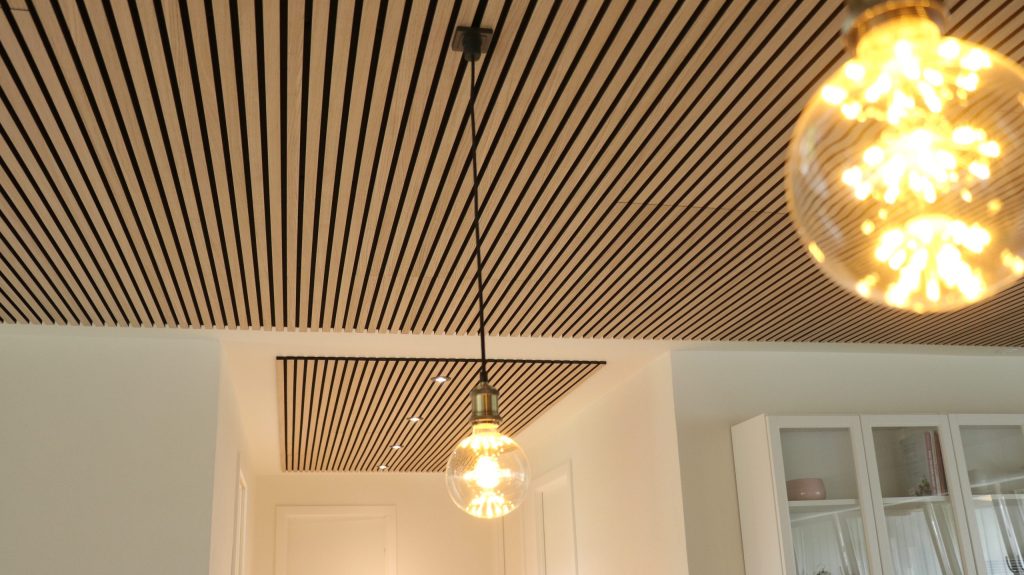

Are things not going as planned? We are here for you if you need help.
Call us
Send us an email
Business hours
Monday to Thursday: 8.00-16.00
Friday: 8.30-13.30


