


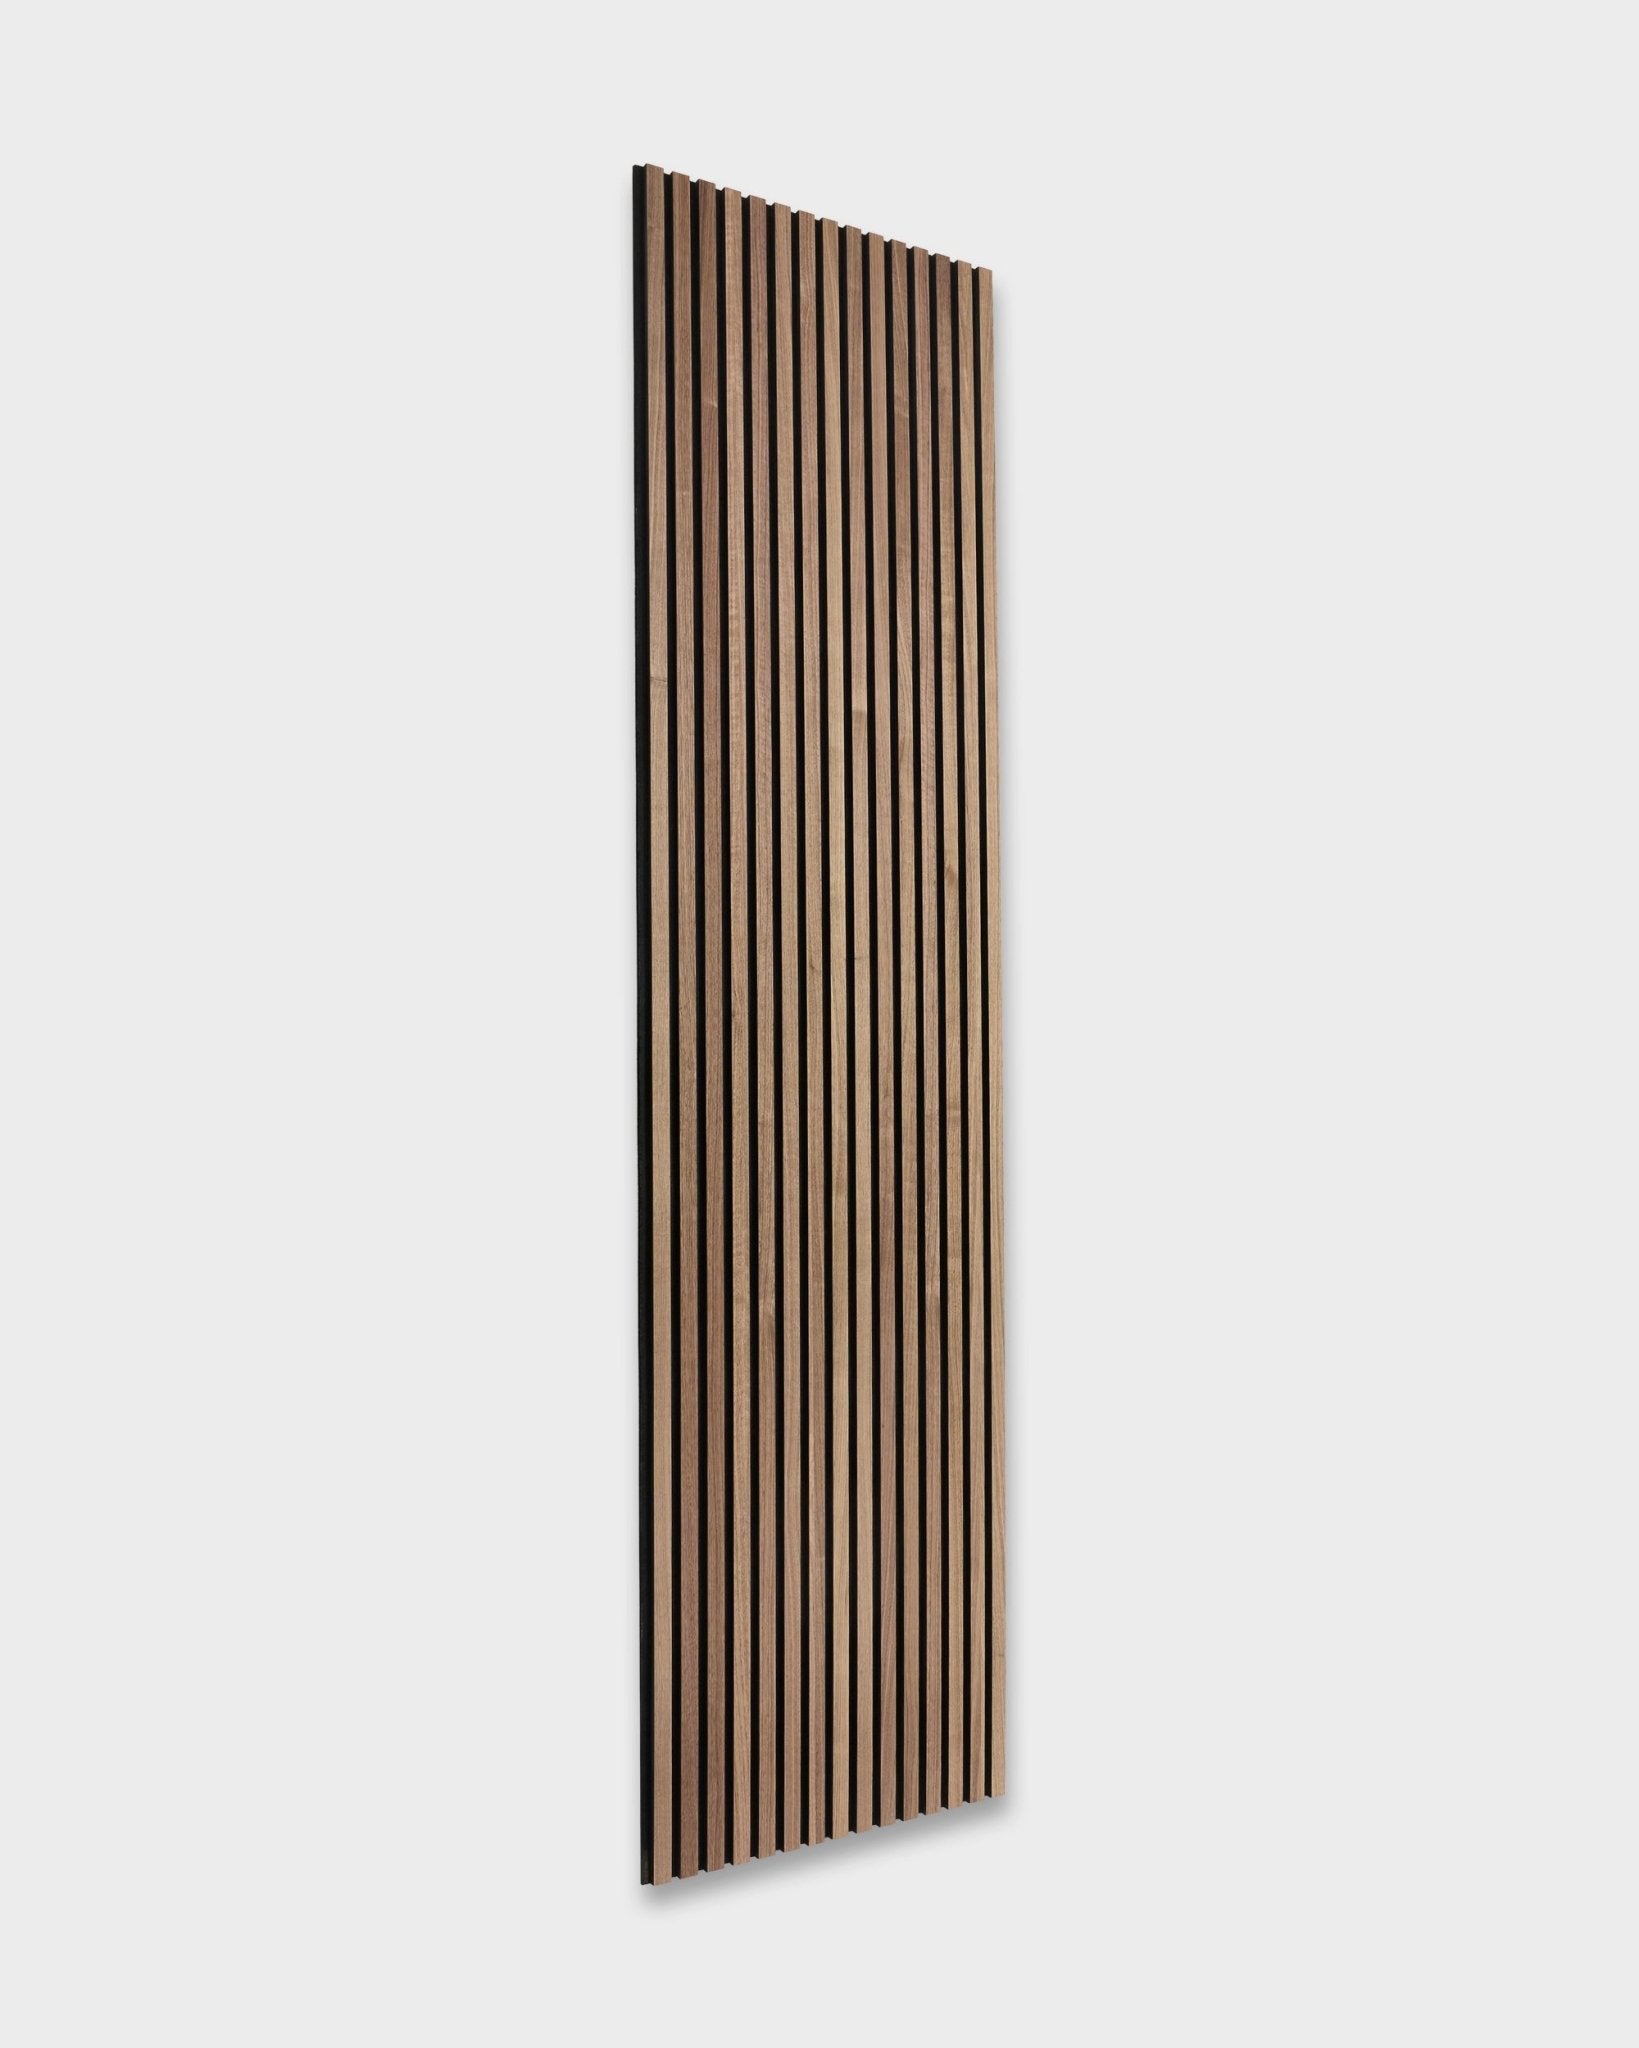
Akupanel | Acoustic Panel
Natural Wood, Walnut, Black Felt, 240 x 60 cm
Black Friday Sale: 25% off all products. Early access from Sat 21 Nov
Akupanels aren't just for walls. They also look great on ceilings and can help improve the acoustics in your home.
High ceilings, open floor plans, big windows and hard surfaces often create unwanted echoes and reverberation. By installing Akupanels on your ceiling, you can reduce these sounds while adding a beautiful design detail to your space.
Add chapter blocks to build this list.

The film above shows a whole ceiling going up, from bare battens to a finished room with downlights. Below are four looks to choose from, then the how-to, step by step.
In this conference room, the Akupanels follow the slope of the ceiling and carry on down the walls, so the whole room reads as one warm, calm surface.
Look 2:
Make a frame where you need it the most
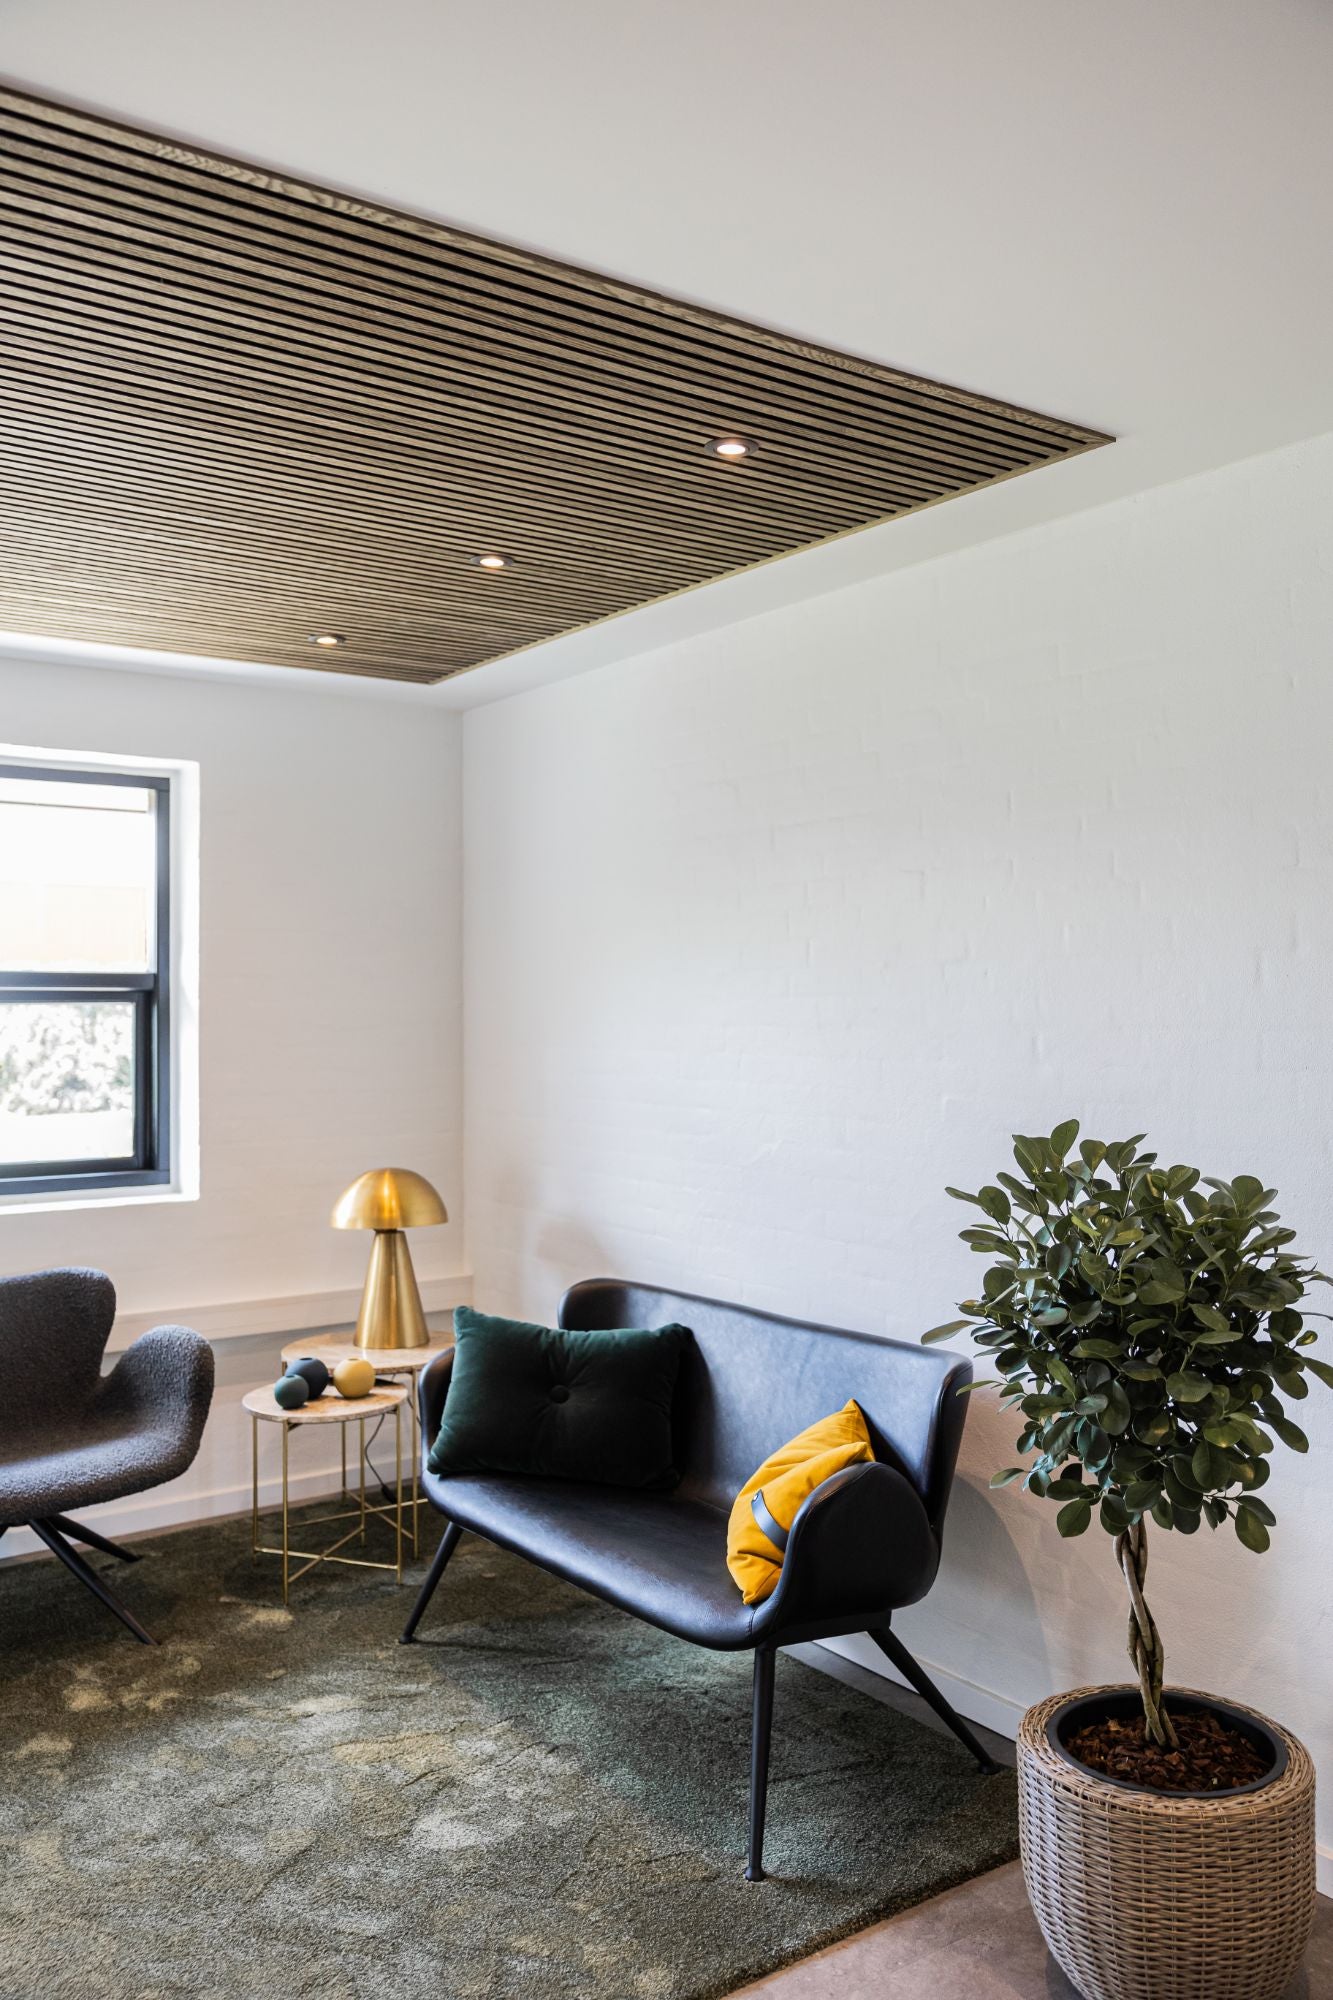
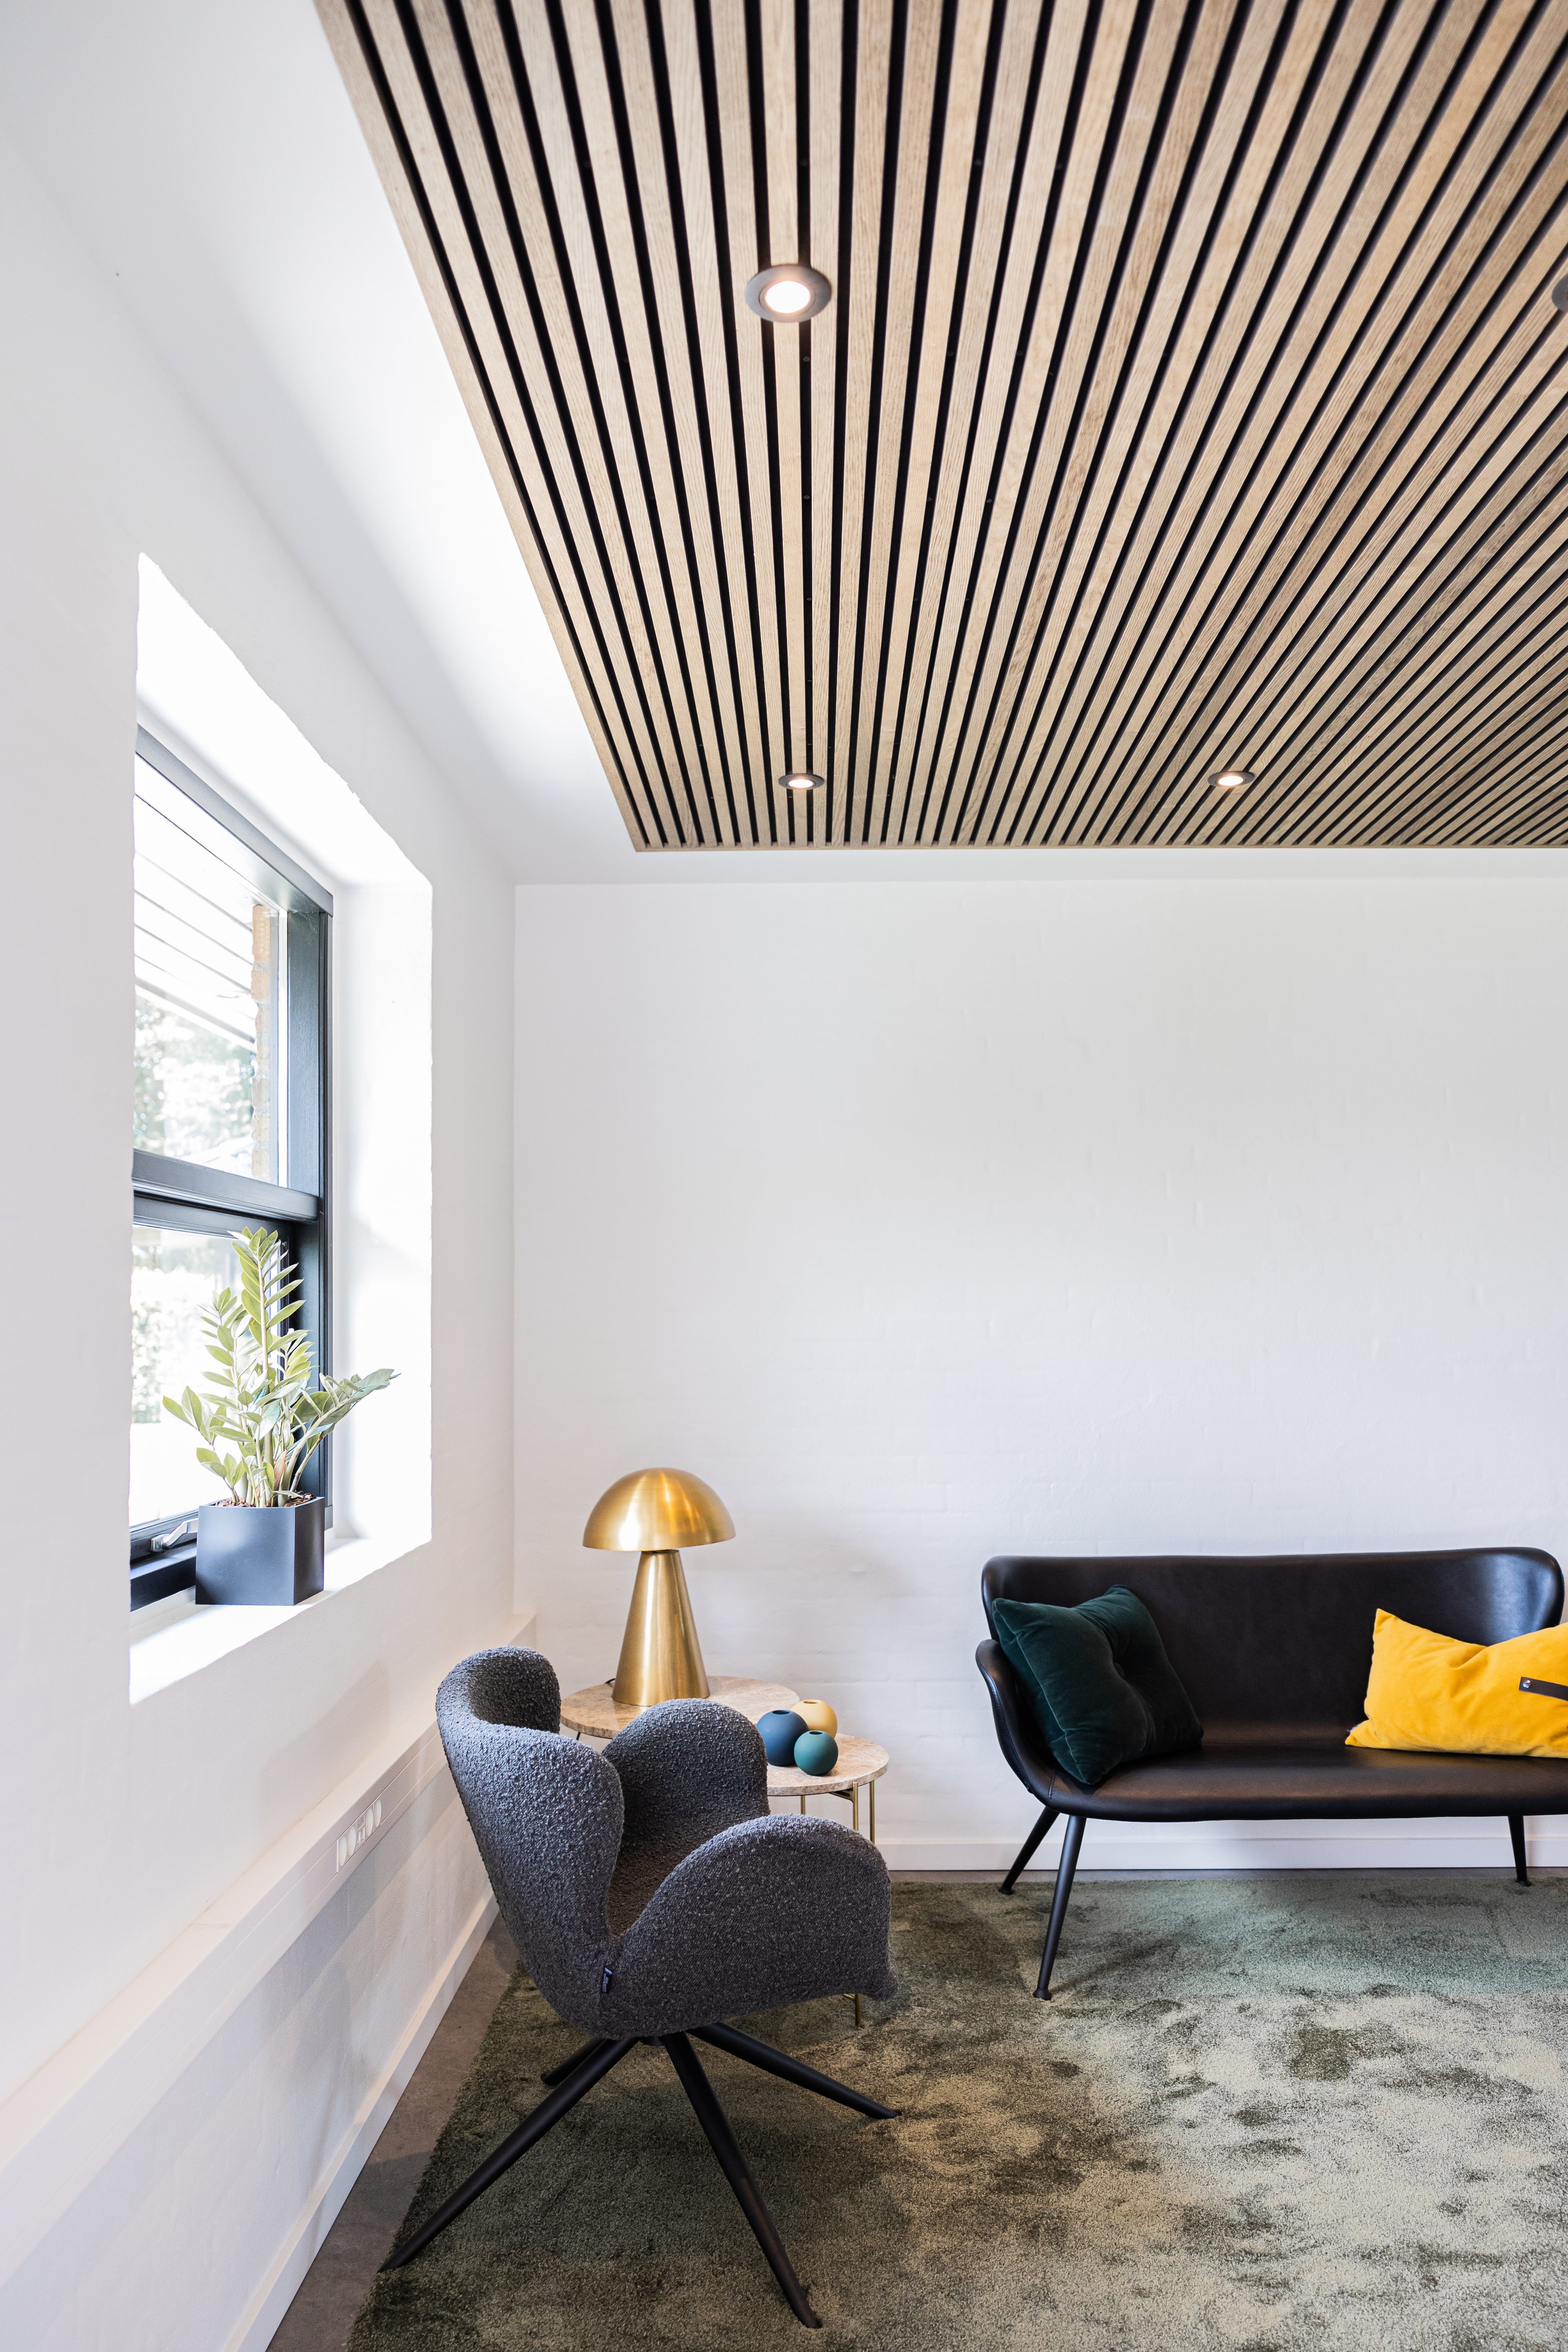
You don’t have to cover the whole ceiling. Put a section of Akupanels right where you need it most, like this light oak frame above the sofa. It marks out the seating corner and gives the spotlights a place to sit.
For a crisp, tailored finish, frame the Akupanels with end lamellas, the slim matching strips that finish an edge, all the way around. The Akupanels then read as one distinct surface set into the ceiling, with clean lines on every side.
It's a great way to mark out a zone in an open-plan room, without building a single wall.
The simplest look, and a very modern one. Mount the Akupanels side by side and let the joint between them show.
It's the natural choice when the length or width of your ceiling needs several Akupanels in a row. Instead of hiding the joints, the design uses them, as a quiet rhythm across the whole surface.
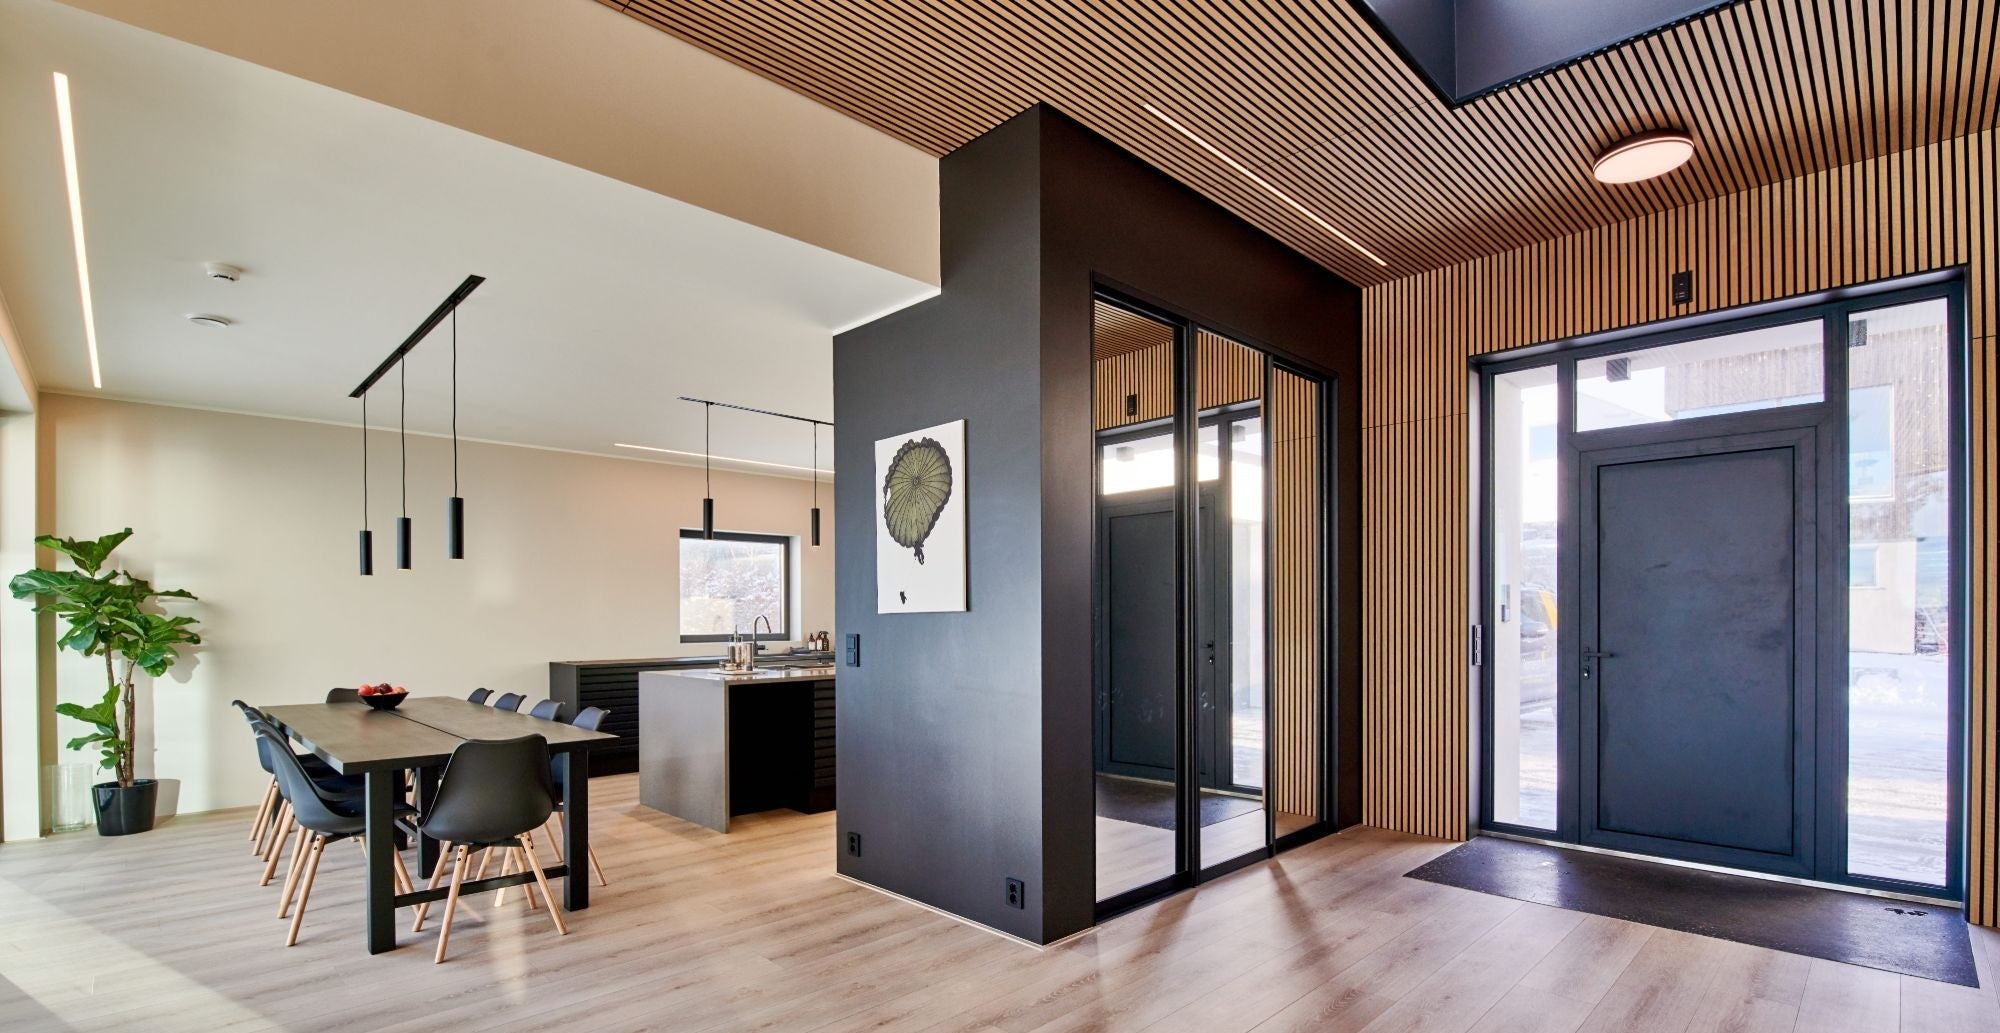
On this sloped living-room ceiling, Walnut Akupanels run edge to edge up toward the ridge, and the same finish carries on down the wall beside the window.

Explore Akupanel Walnut
Natural Wood, Walnut, Black Felt, 240 x 60 cm
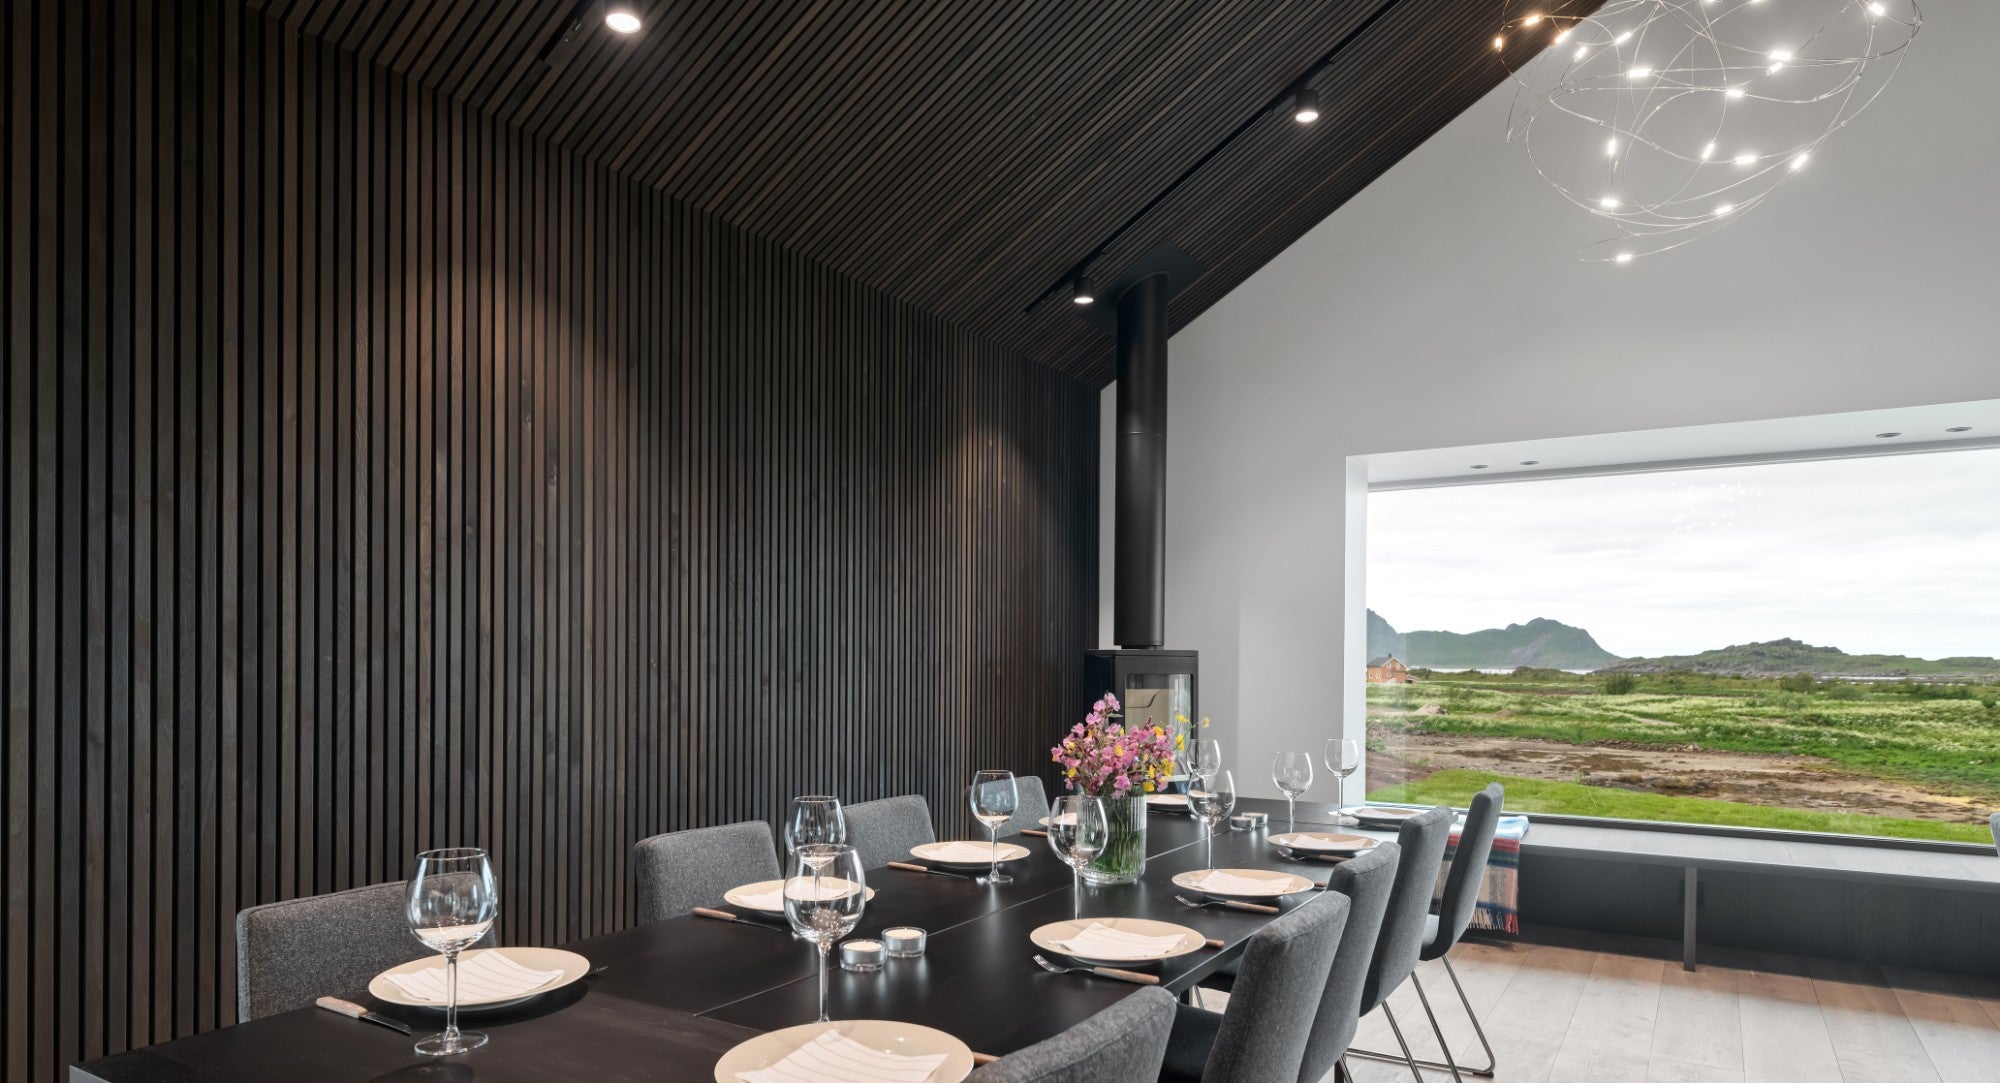
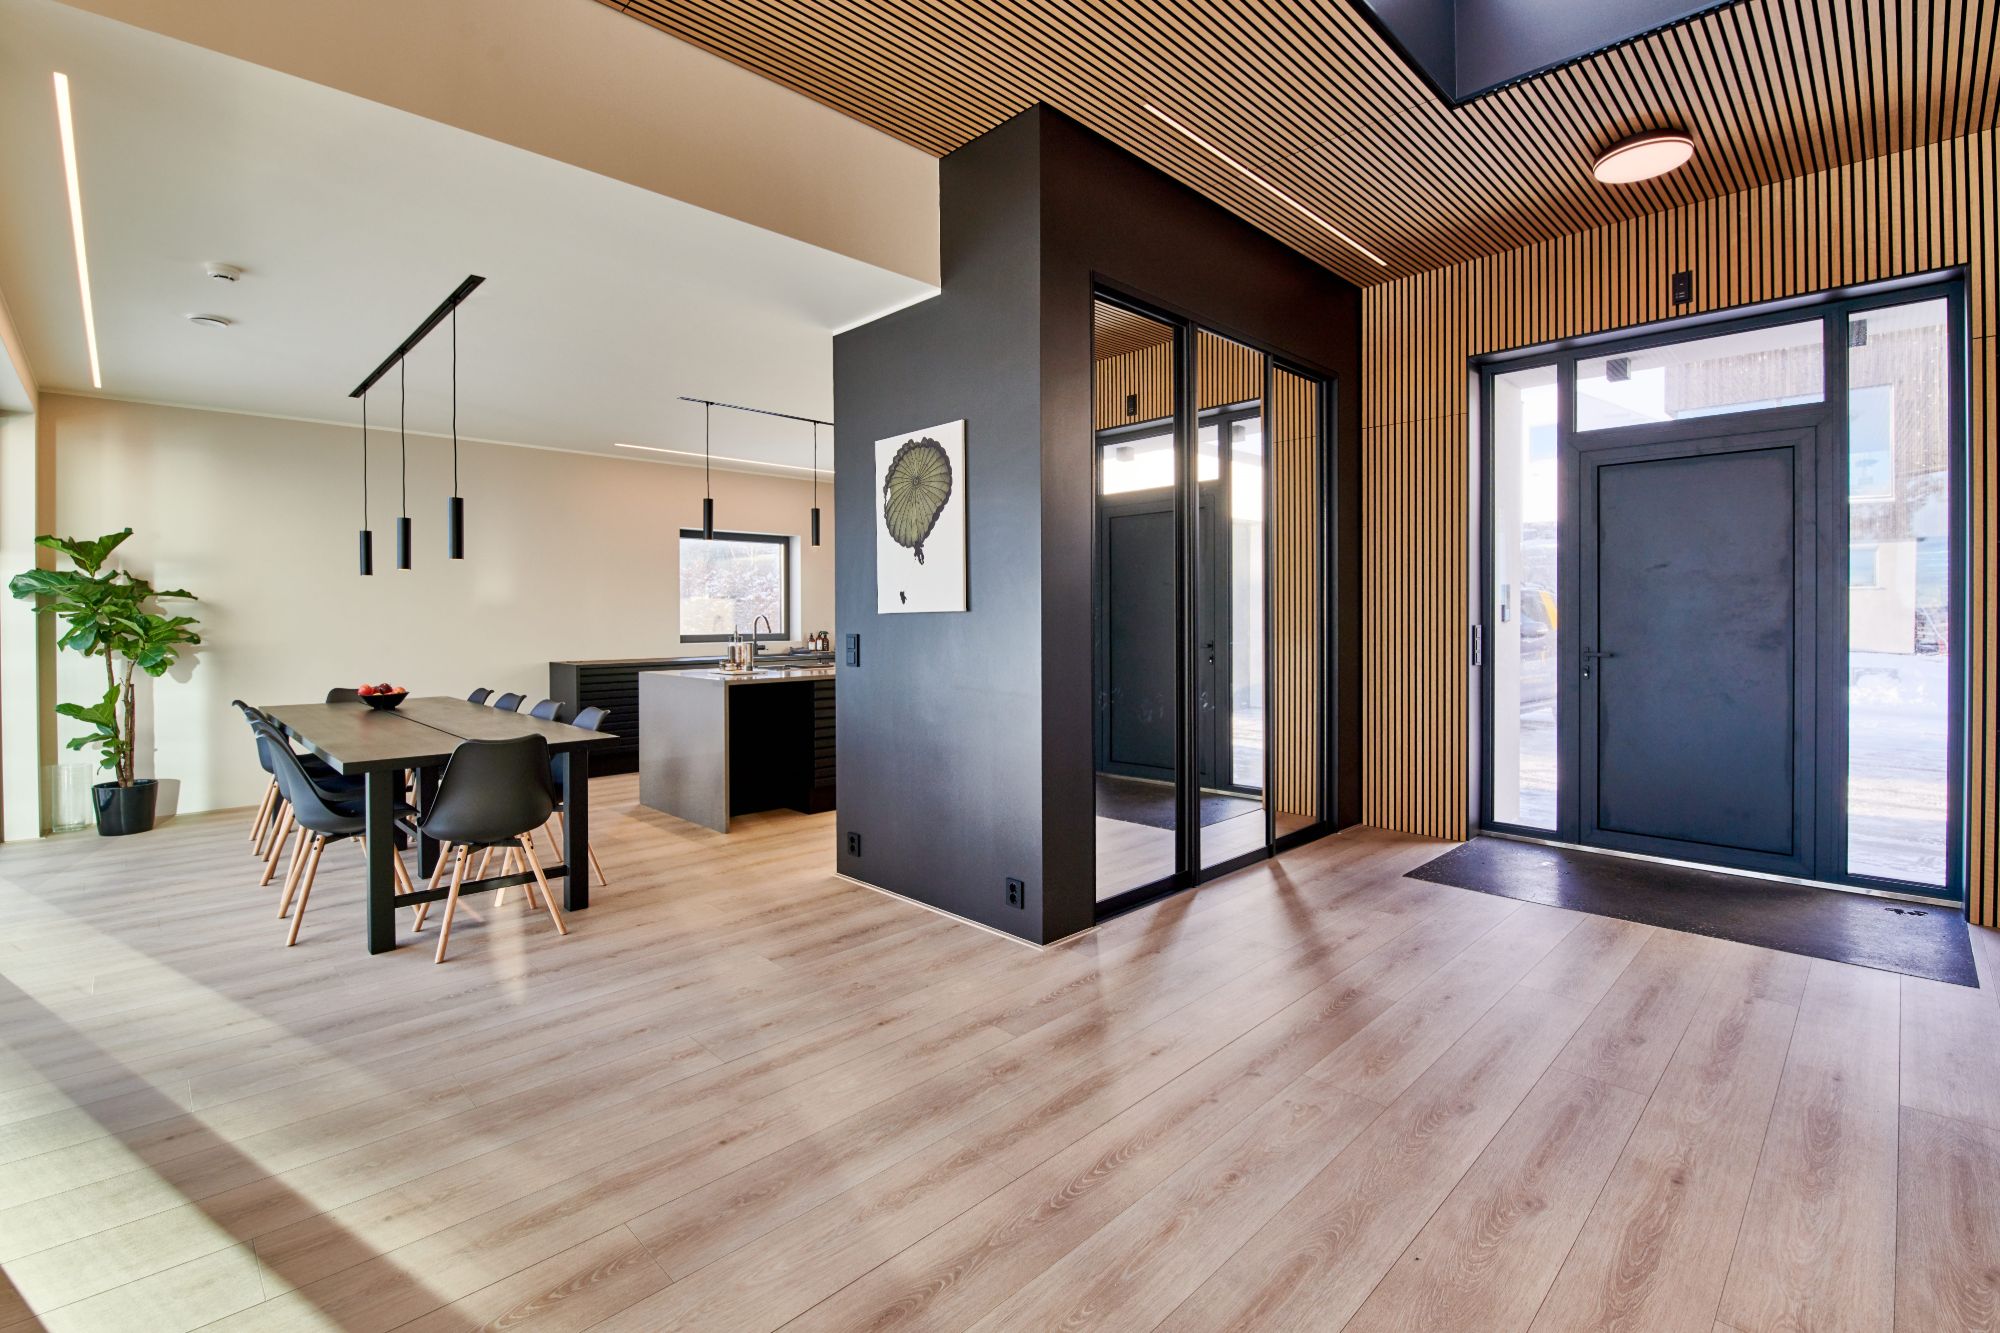
Some of the most striking rooms don't stop where the wall ends. Here, Rustic Brown Oak Akupanels run up the wall and across the ceiling as one continuous surface, with a line of light tracing the corner.
The effect is a room wrapped in wood: warm, calm and quietly dramatic, especially in the evening.
Explore Akupanel Rustic Brown Oak
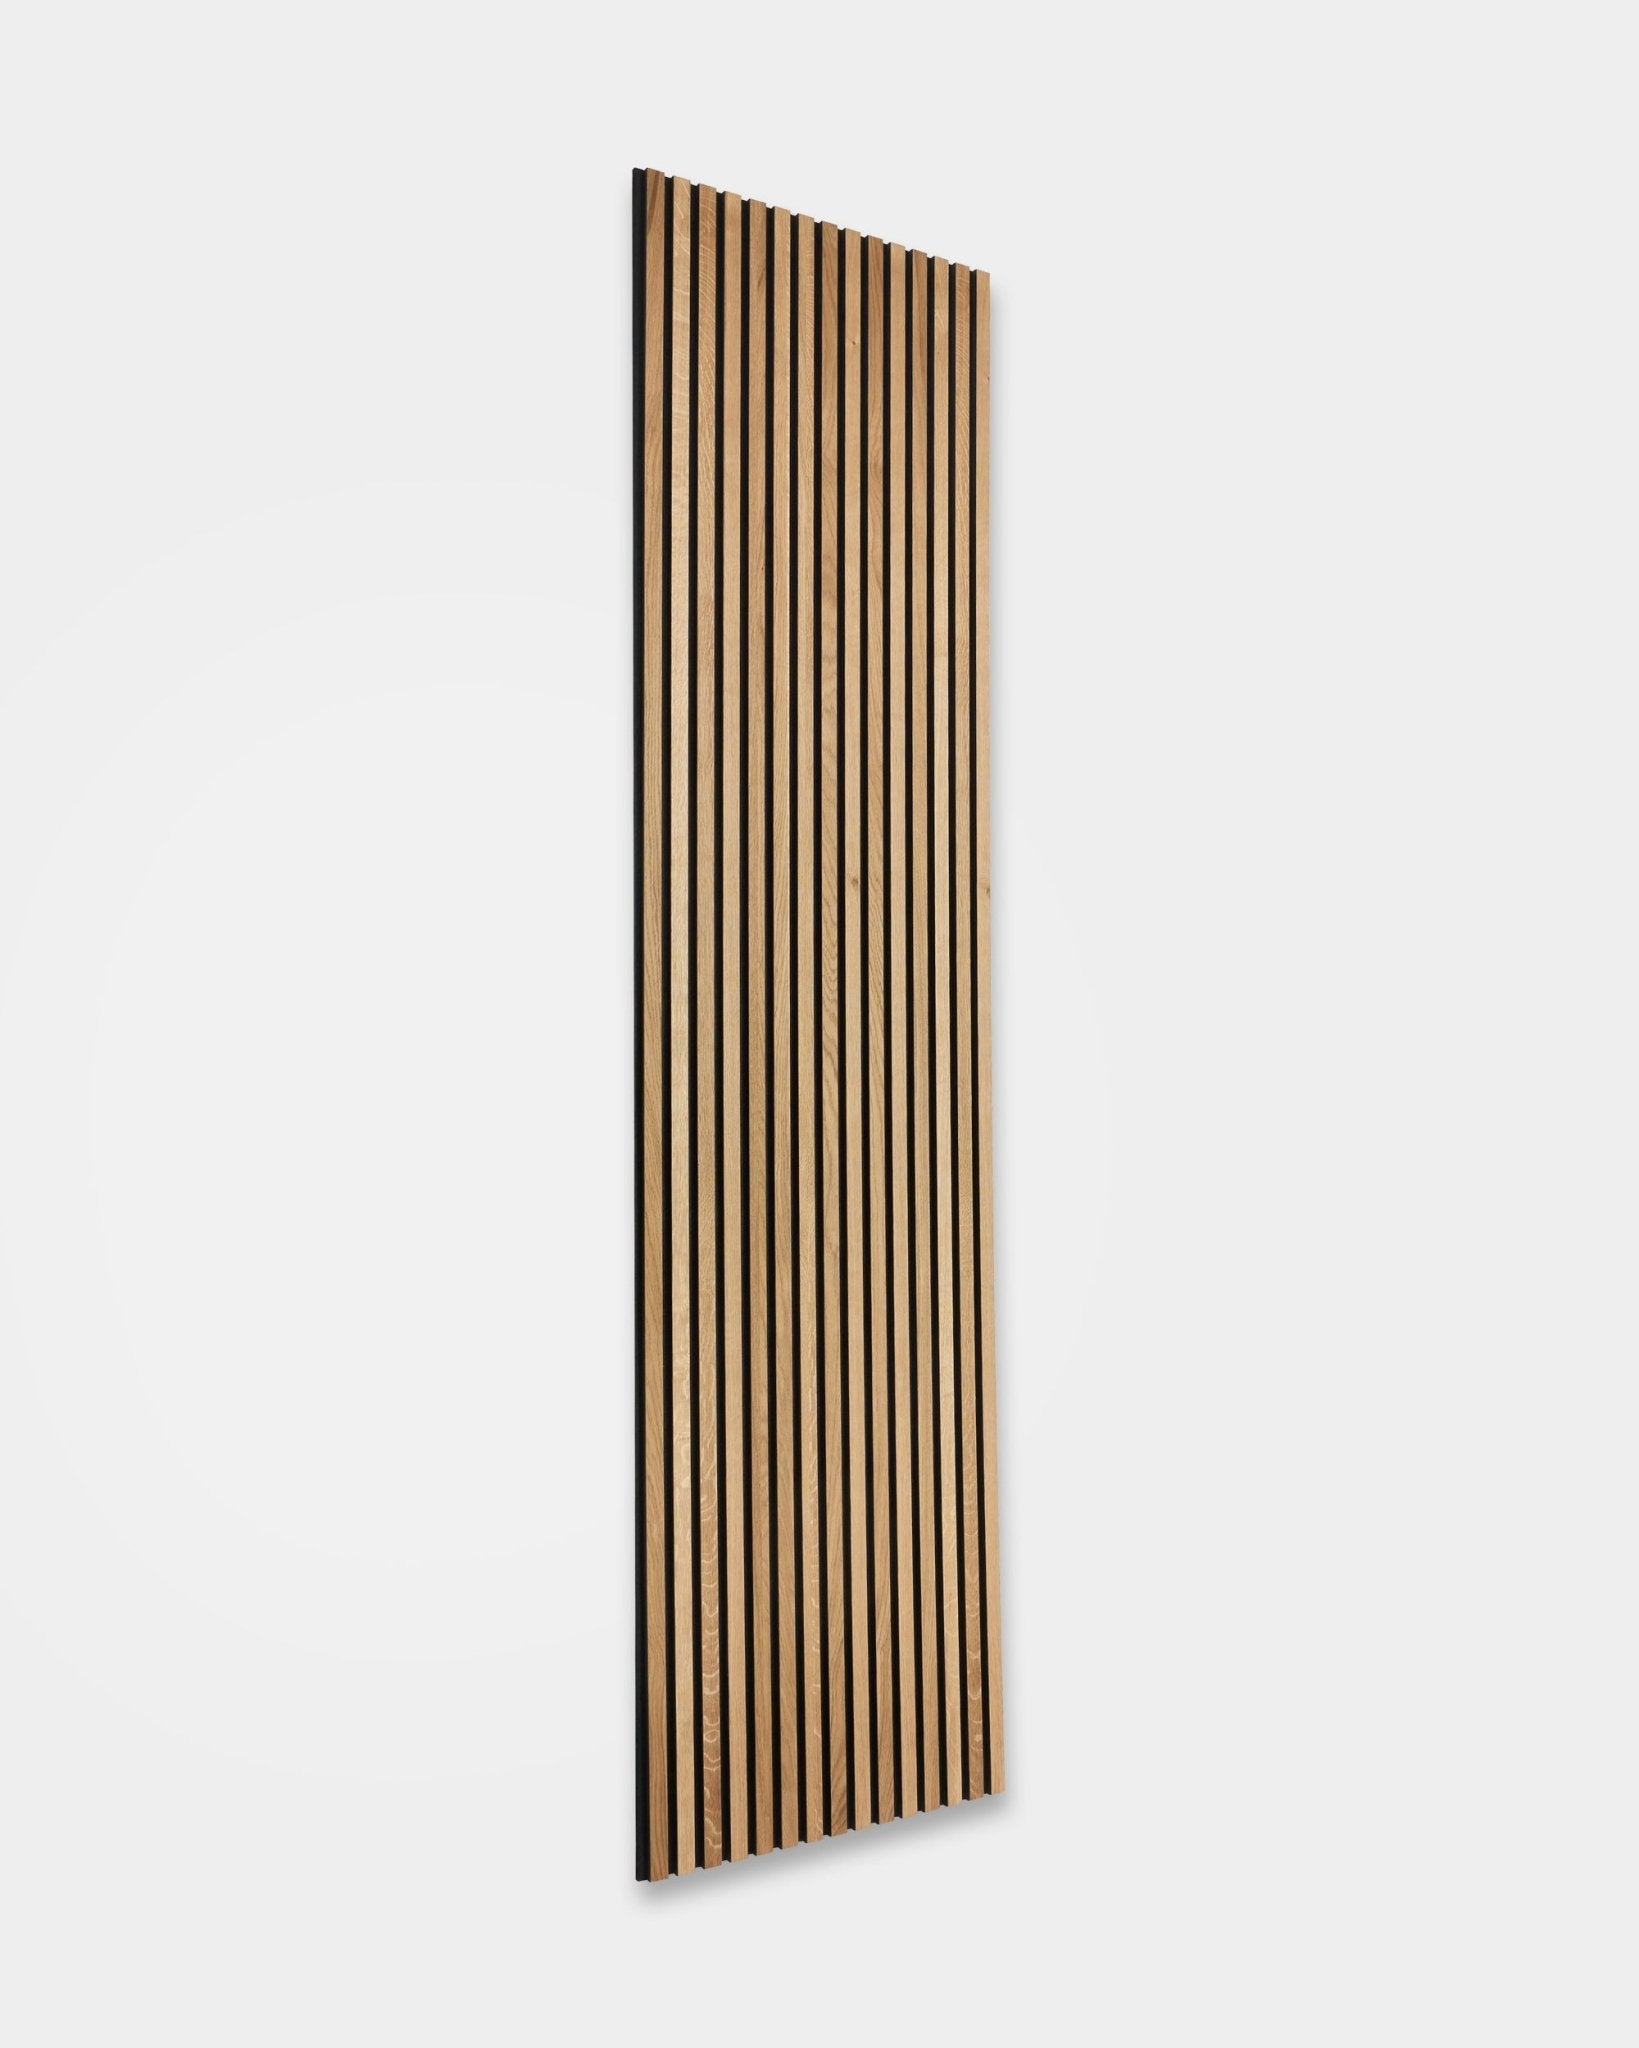
Natural Wood, Rustic Brown Oak, Black Felt, 240 x 60 cm
Put your Akupanels where sound lands first: on the ceiling or on large walls. That way it's absorbed before it has a chance to bounce back into the room.
Think about where the sound starts, too. If voices echo in your living room, Akupanels at head height help, because that's where people talk.
And spread them out. Sound travels in every direction, so several surfaces around the room work better than one big patch. The ceiling is often the best place to start, because sound reaches it so quickly.
As a rule of thumb, we recommend covering about 25% of the floor area with sound-absorbing material. One or two Akupanels in a room won't make an audible difference. To notice a real change, aim for around a quarter of the floor area.
Here's the simple formula, based on the 240 × 60 cm Akupanel, which covers 1.44 m²:
Floor area (m²) × 0.25 ÷ 1.44 = number of Akupanels
Example: a 30 m² living room × 0.25 = 7.5 m² of Akupanels. 7.5 ÷ 1.44 = 5.2, so plan for 6 Akupanels.
Choosing the taller 300 × 60 cm Akupanel? Each one covers 1.8 m², so divide by 1.8 instead. In the same room, that's 7.5 ÷ 1.8 = 4.2, so 5 Akupanels.
Treat the result as a starting point, not a guarantee. Every room is different: its size, its hard surfaces and where the Akupanels go all play a part.
On a ceiling, Akupanels are mounted onto a frame of wooden battens fixed across the ceiling. The battens give every screw something solid to bite into.
Run the battens across the direction your slats will go, and plan your light positions before you start (more on that in step 4). A support prop holds each batten in place while you fix it, which frees your hands and keeps the line straight.
Good to know: Akupanels reach Class A sound absorption only when they're mounted on battens with mineral wool filling the space behind them. Without the wool, don't count on Class A.

Measure the ceiling and cut each Akupanel to length before it goes up. It's much easier on a workbench than overhead.
A track saw on a guide rail gives you a clean, straight edge.

Lift the first Akupanel into place against the battens. A second pair of hands or a support prop makes this much easier.
Then screw through the felt, between the slats, into the battens. Mark the batten lines along the edge of the ceiling first (a strip of tape works well), so every screw lands in wood. Work your way across the ceiling one Akupanel at a time.

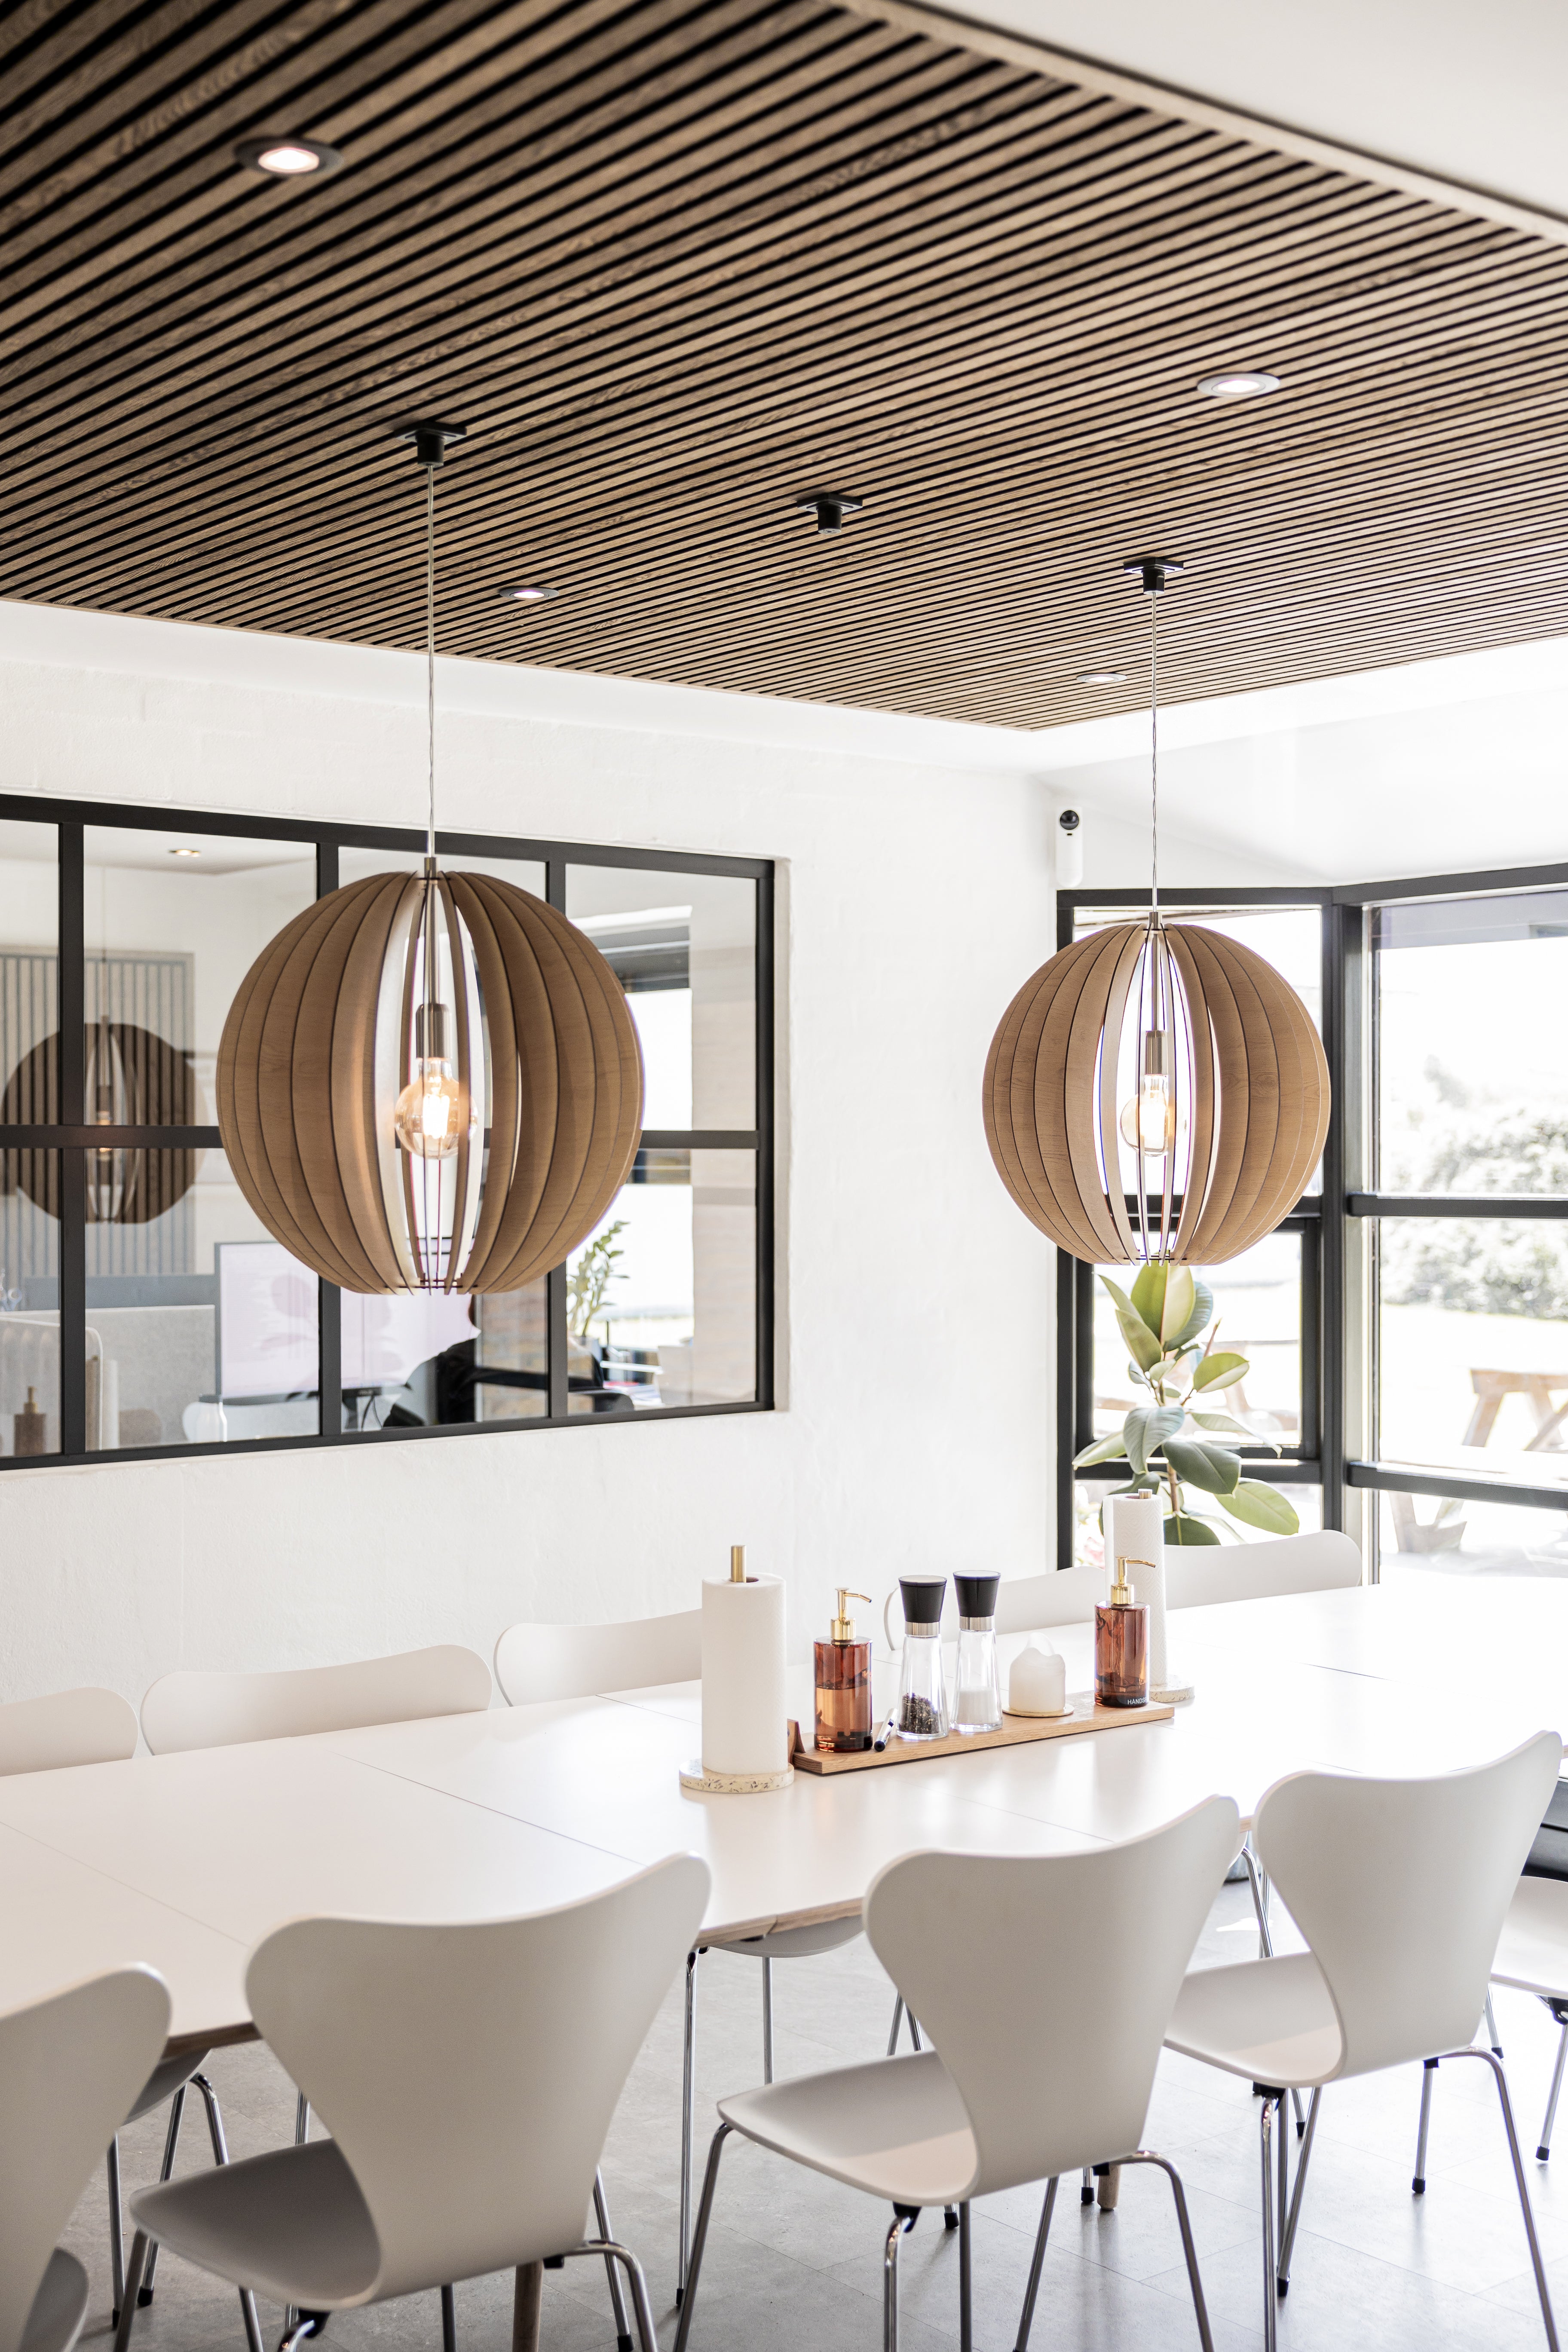
Light and Akupanels work beautifully together. Downlights can sit right in the slatted surface, like the ceiling at the top of this page, and pendants can hang straight down from it, as they do over this kitchen.
The trick is to plan it before the first batten goes up. Not sure how to make the openings for your light fittings? Our customer service team will walk you through it.
Explore Akupanel Classic Oak

Natural Wood, Classic Oak, Black Felt, 240 x 60 cm
Create collection
Add function, personality and purpose to any panel
Pair your panels with create accessories to add shelves, hooks, and storage - easy to mount, easy to move, and simple to update as your needs change.
Close the open sides of the ceiling with end lamellas in the same finish as your Akupanels. They cover the sides and give the ceiling a clean, finished line.
Pick the look that suits your room, work out how many Akupanels you need, and plan your lights before the first batten goes up. That's the hard part done.
Then choose your finish: natural wood, wood-like or colored. The ceiling is the one surface everyone in the room will see.
What customers say
The film above shows a whole ceiling going up, from bare battens to a finished room with downlights. Below are four looks to choose from, then the how-to, step by step.
Follow these steps to get your panels on the wall.
Decide placement and measure the area so panels align with your layout.
Clean the wall and mark a level line so the first row sits straight.
Install clips or adhesive per instructions, then add panels row by row.
More from the blog
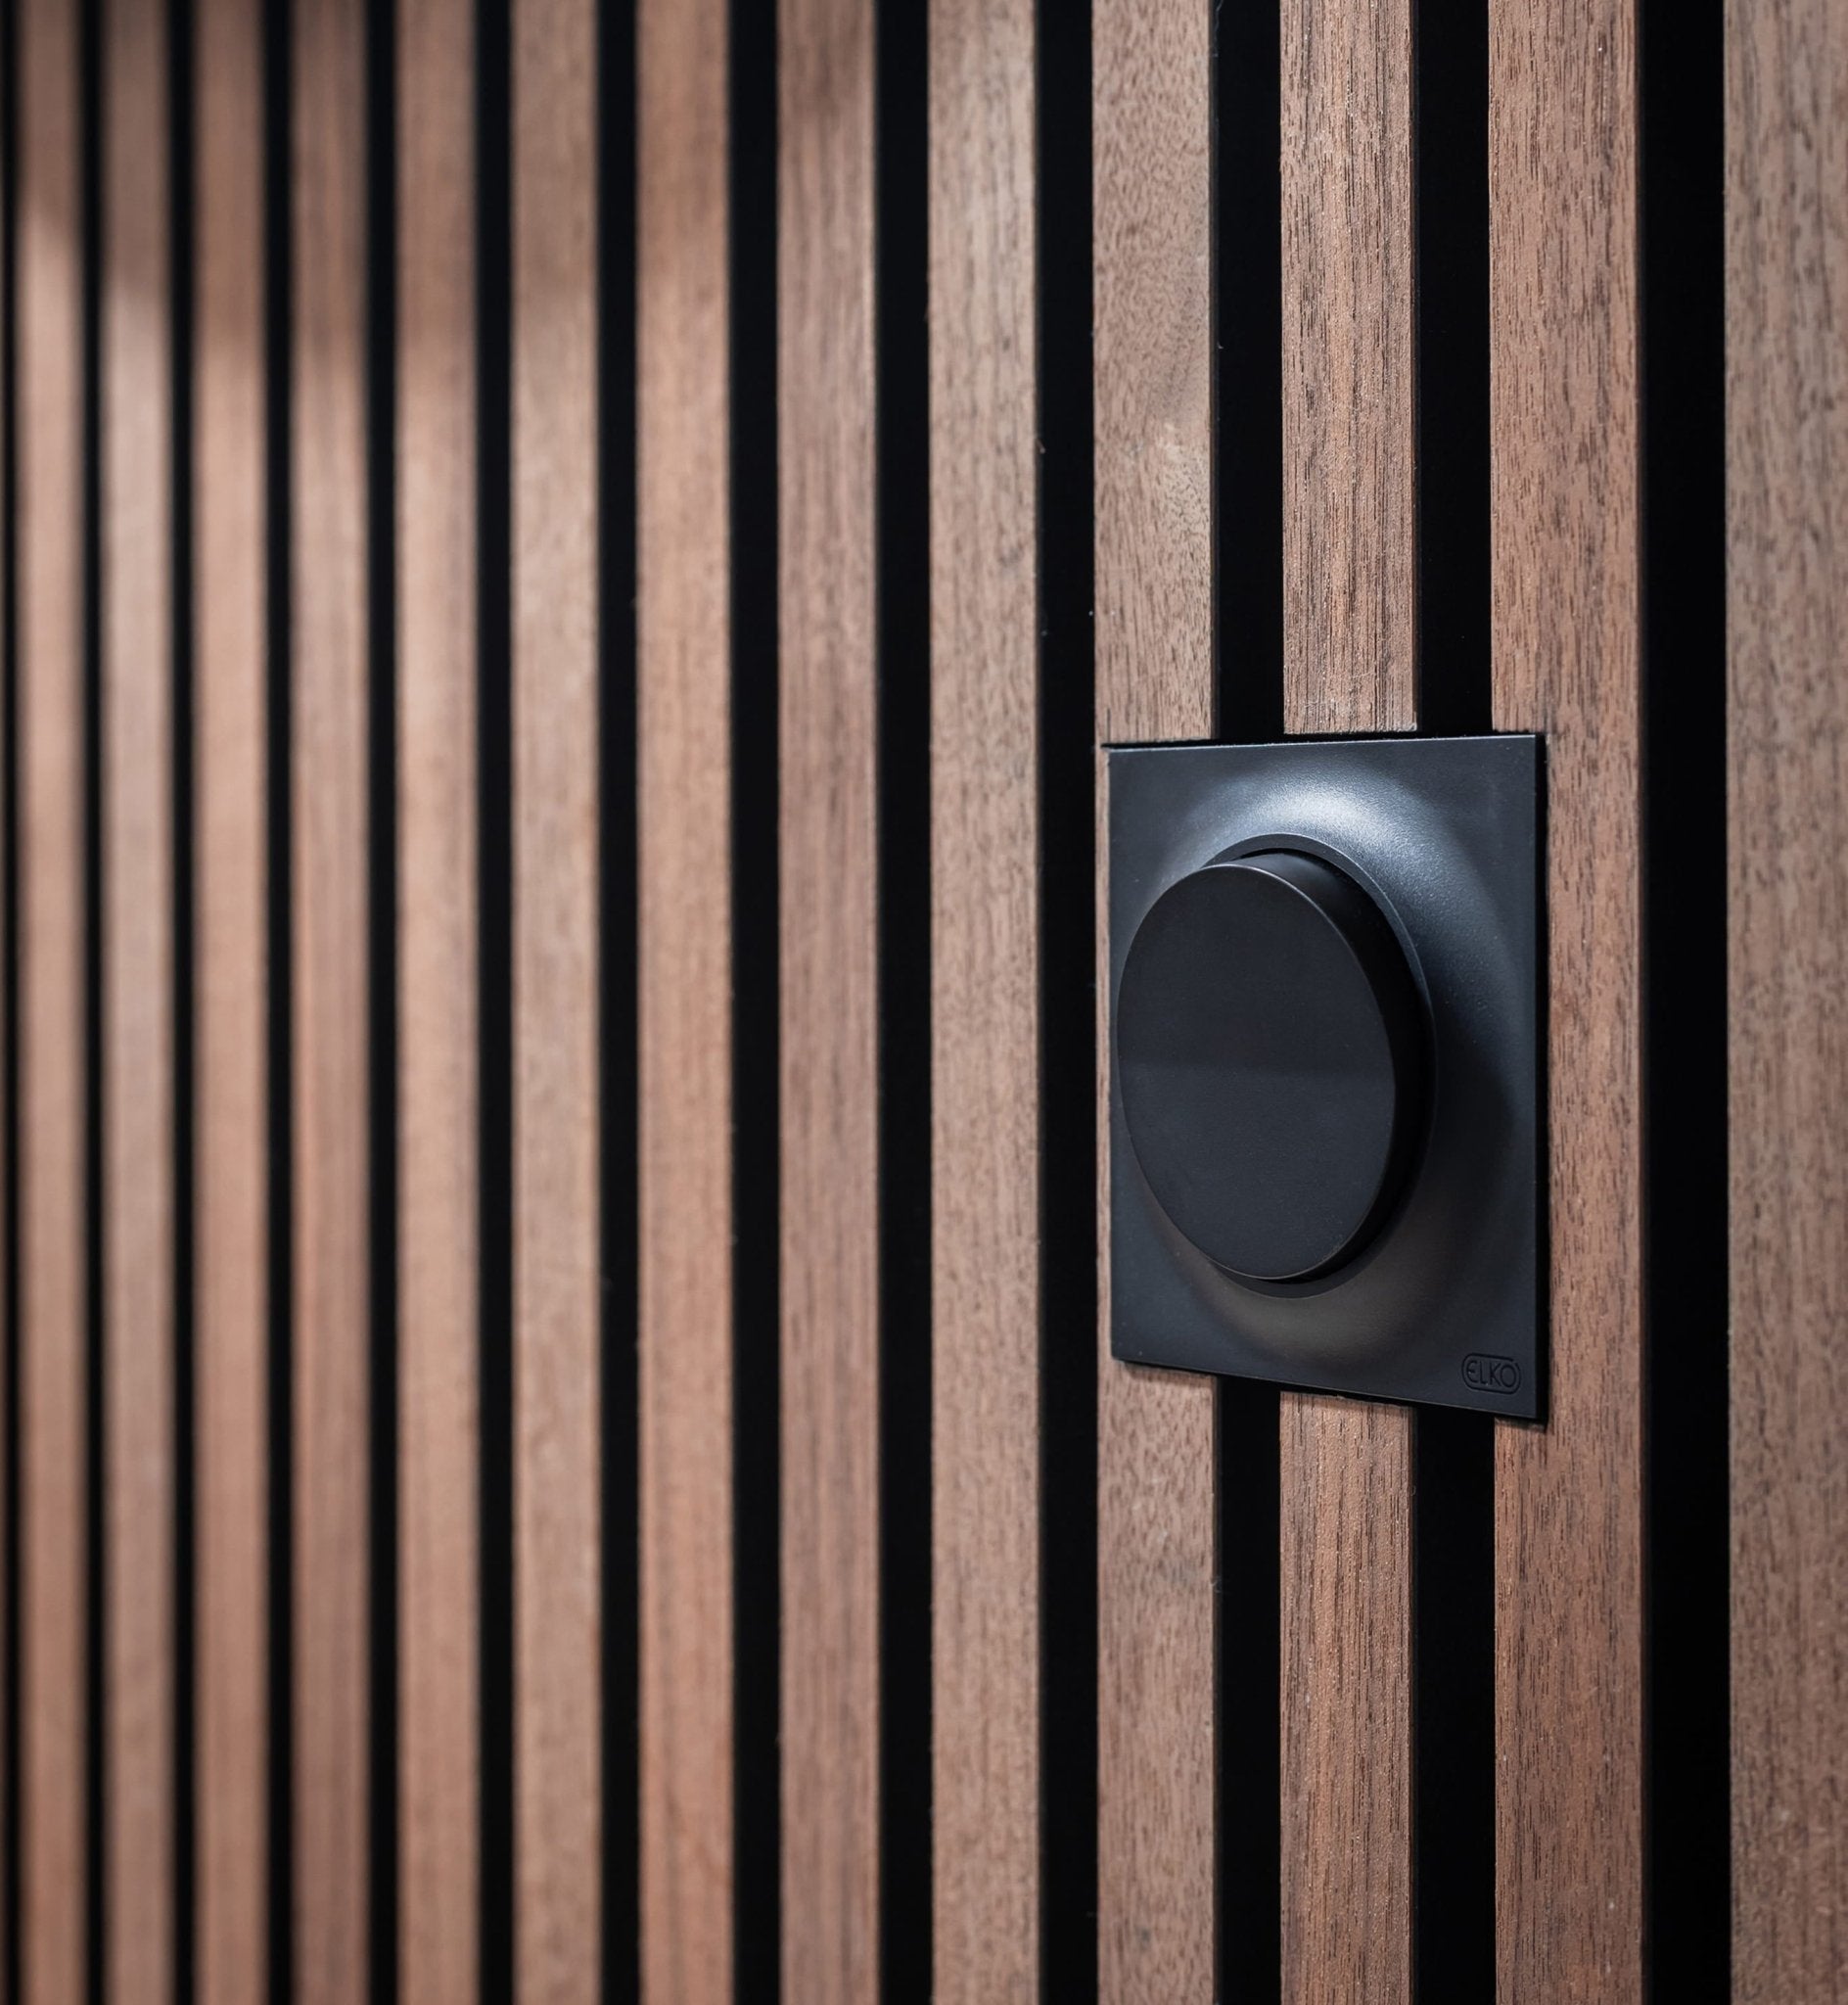
Electrical Outlets in an Akupanel Wall
When mounting acoustic panels, electrical outlets and switches can often feel like an obstacle. However, when handled correctly, they can actually become a stylish design feature. Here are some ideas and tips on how to integrate them for a result that is both sleek and highly functional.
Read more
Acoustic Panels on the Ceiling
Akupanels aren't just for walls. They also look great on ceilings and can help improve the acoustics in your home. High ceilings, open floor plans, big windows and hard surfaces often create unwanted echoes and reverberation. By installing Akupanels on your ceiling, you can reduce these sounds while adding a beautiful design detail to your space.
Read more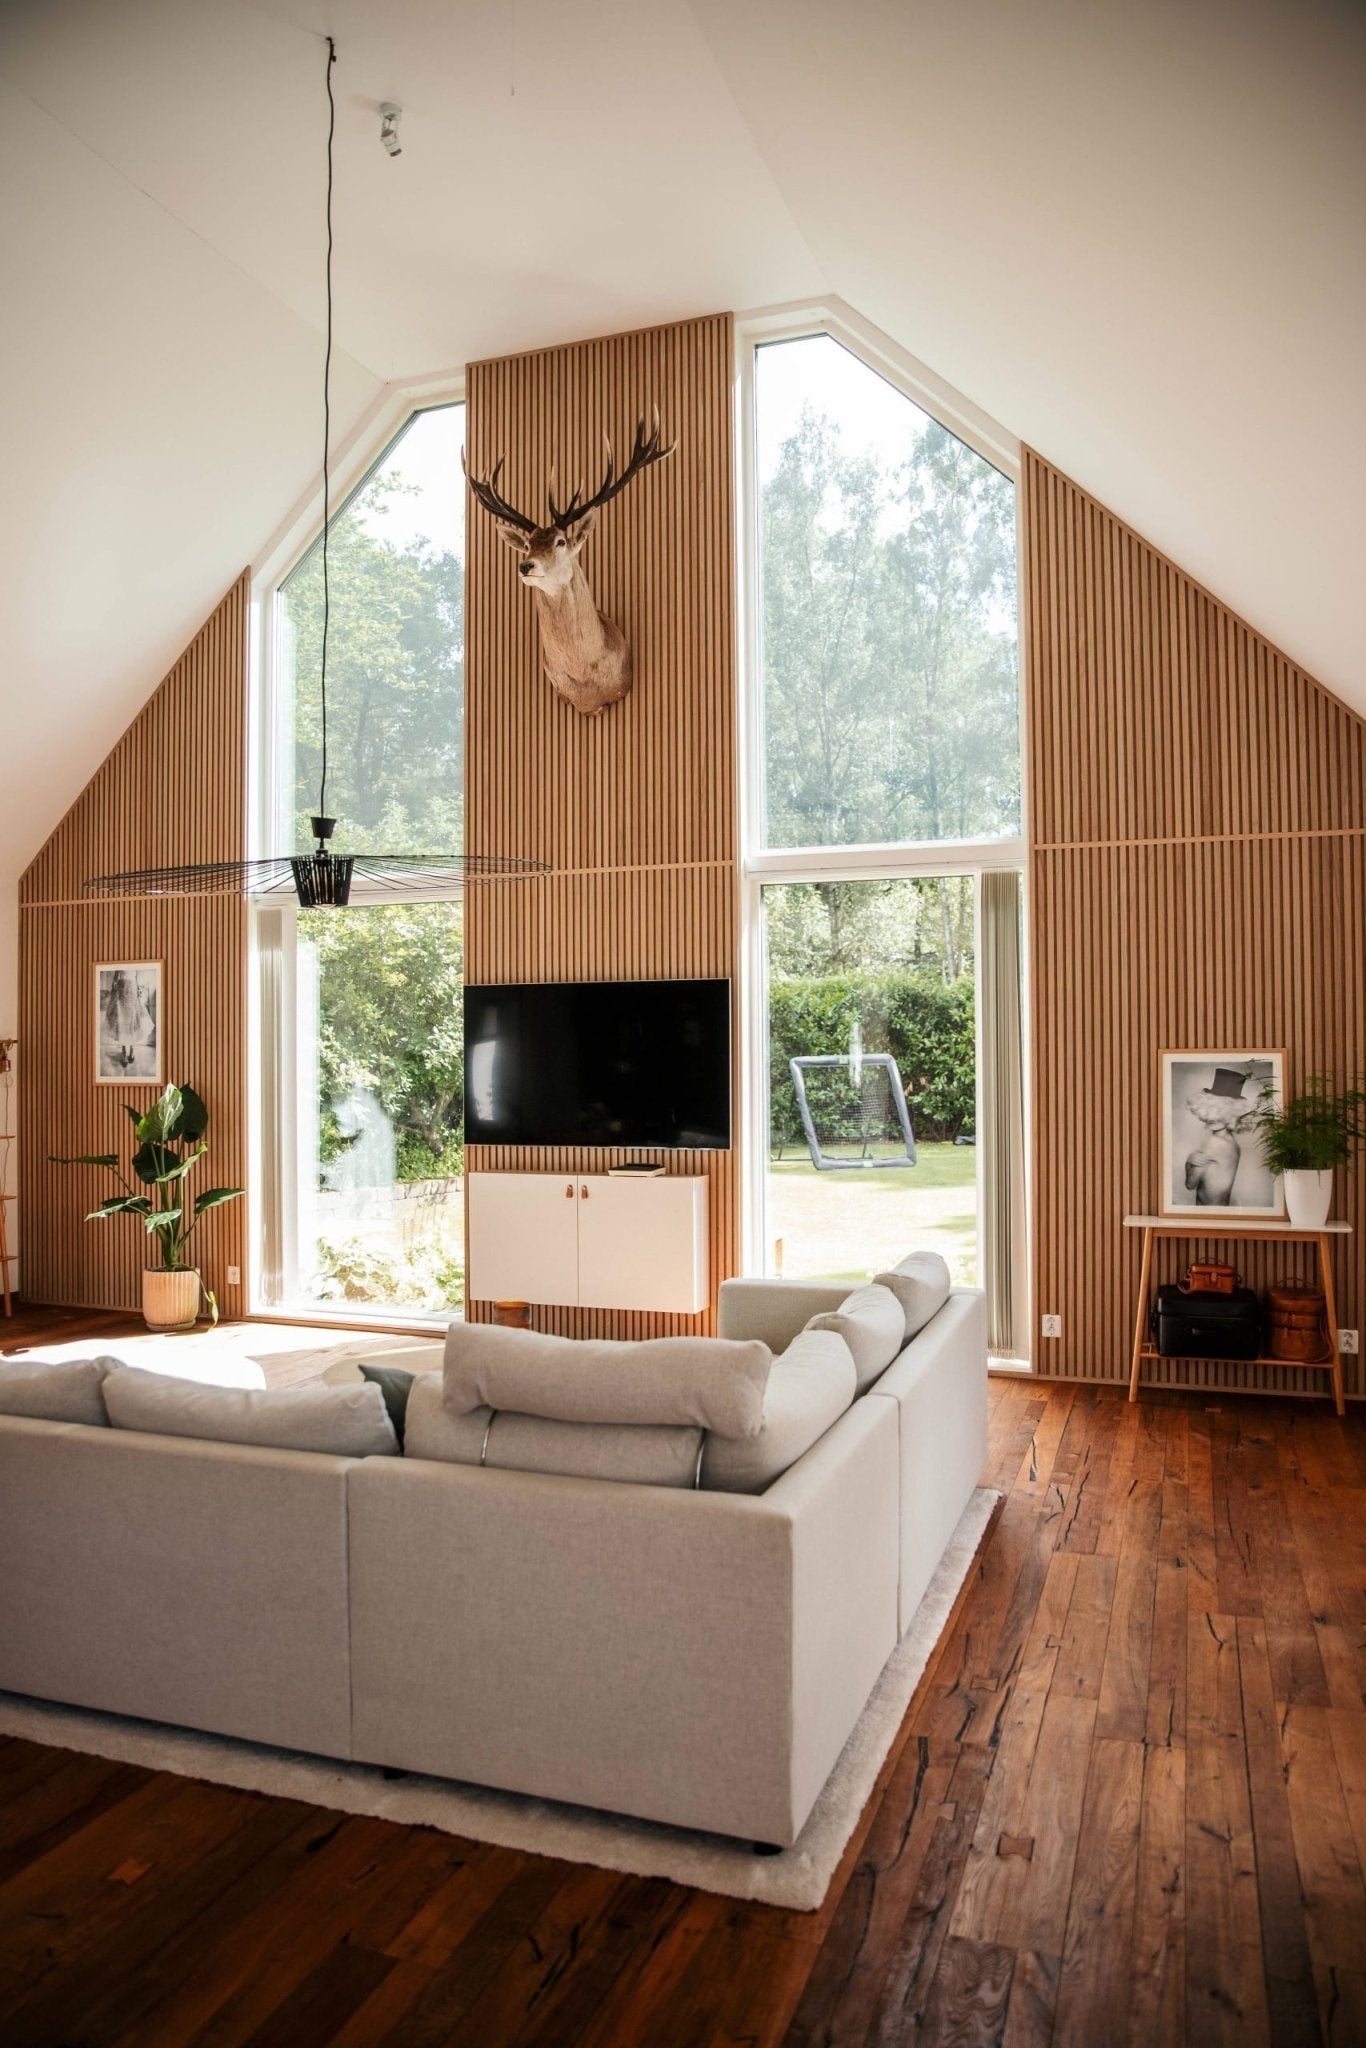
Discover how End lamellas can elevate your panel wall to new heights
Akupanels come in two lengths, 240 cm and 300 cm. Your wall almost never does. Decorating with acoustic panels is an excellent way to improve both the acoustics and the aesthetics of your home. But what happens when you encounter challenges such as high ceilings? This is where our end lamellas come in as an elegant and practical solution.
Read more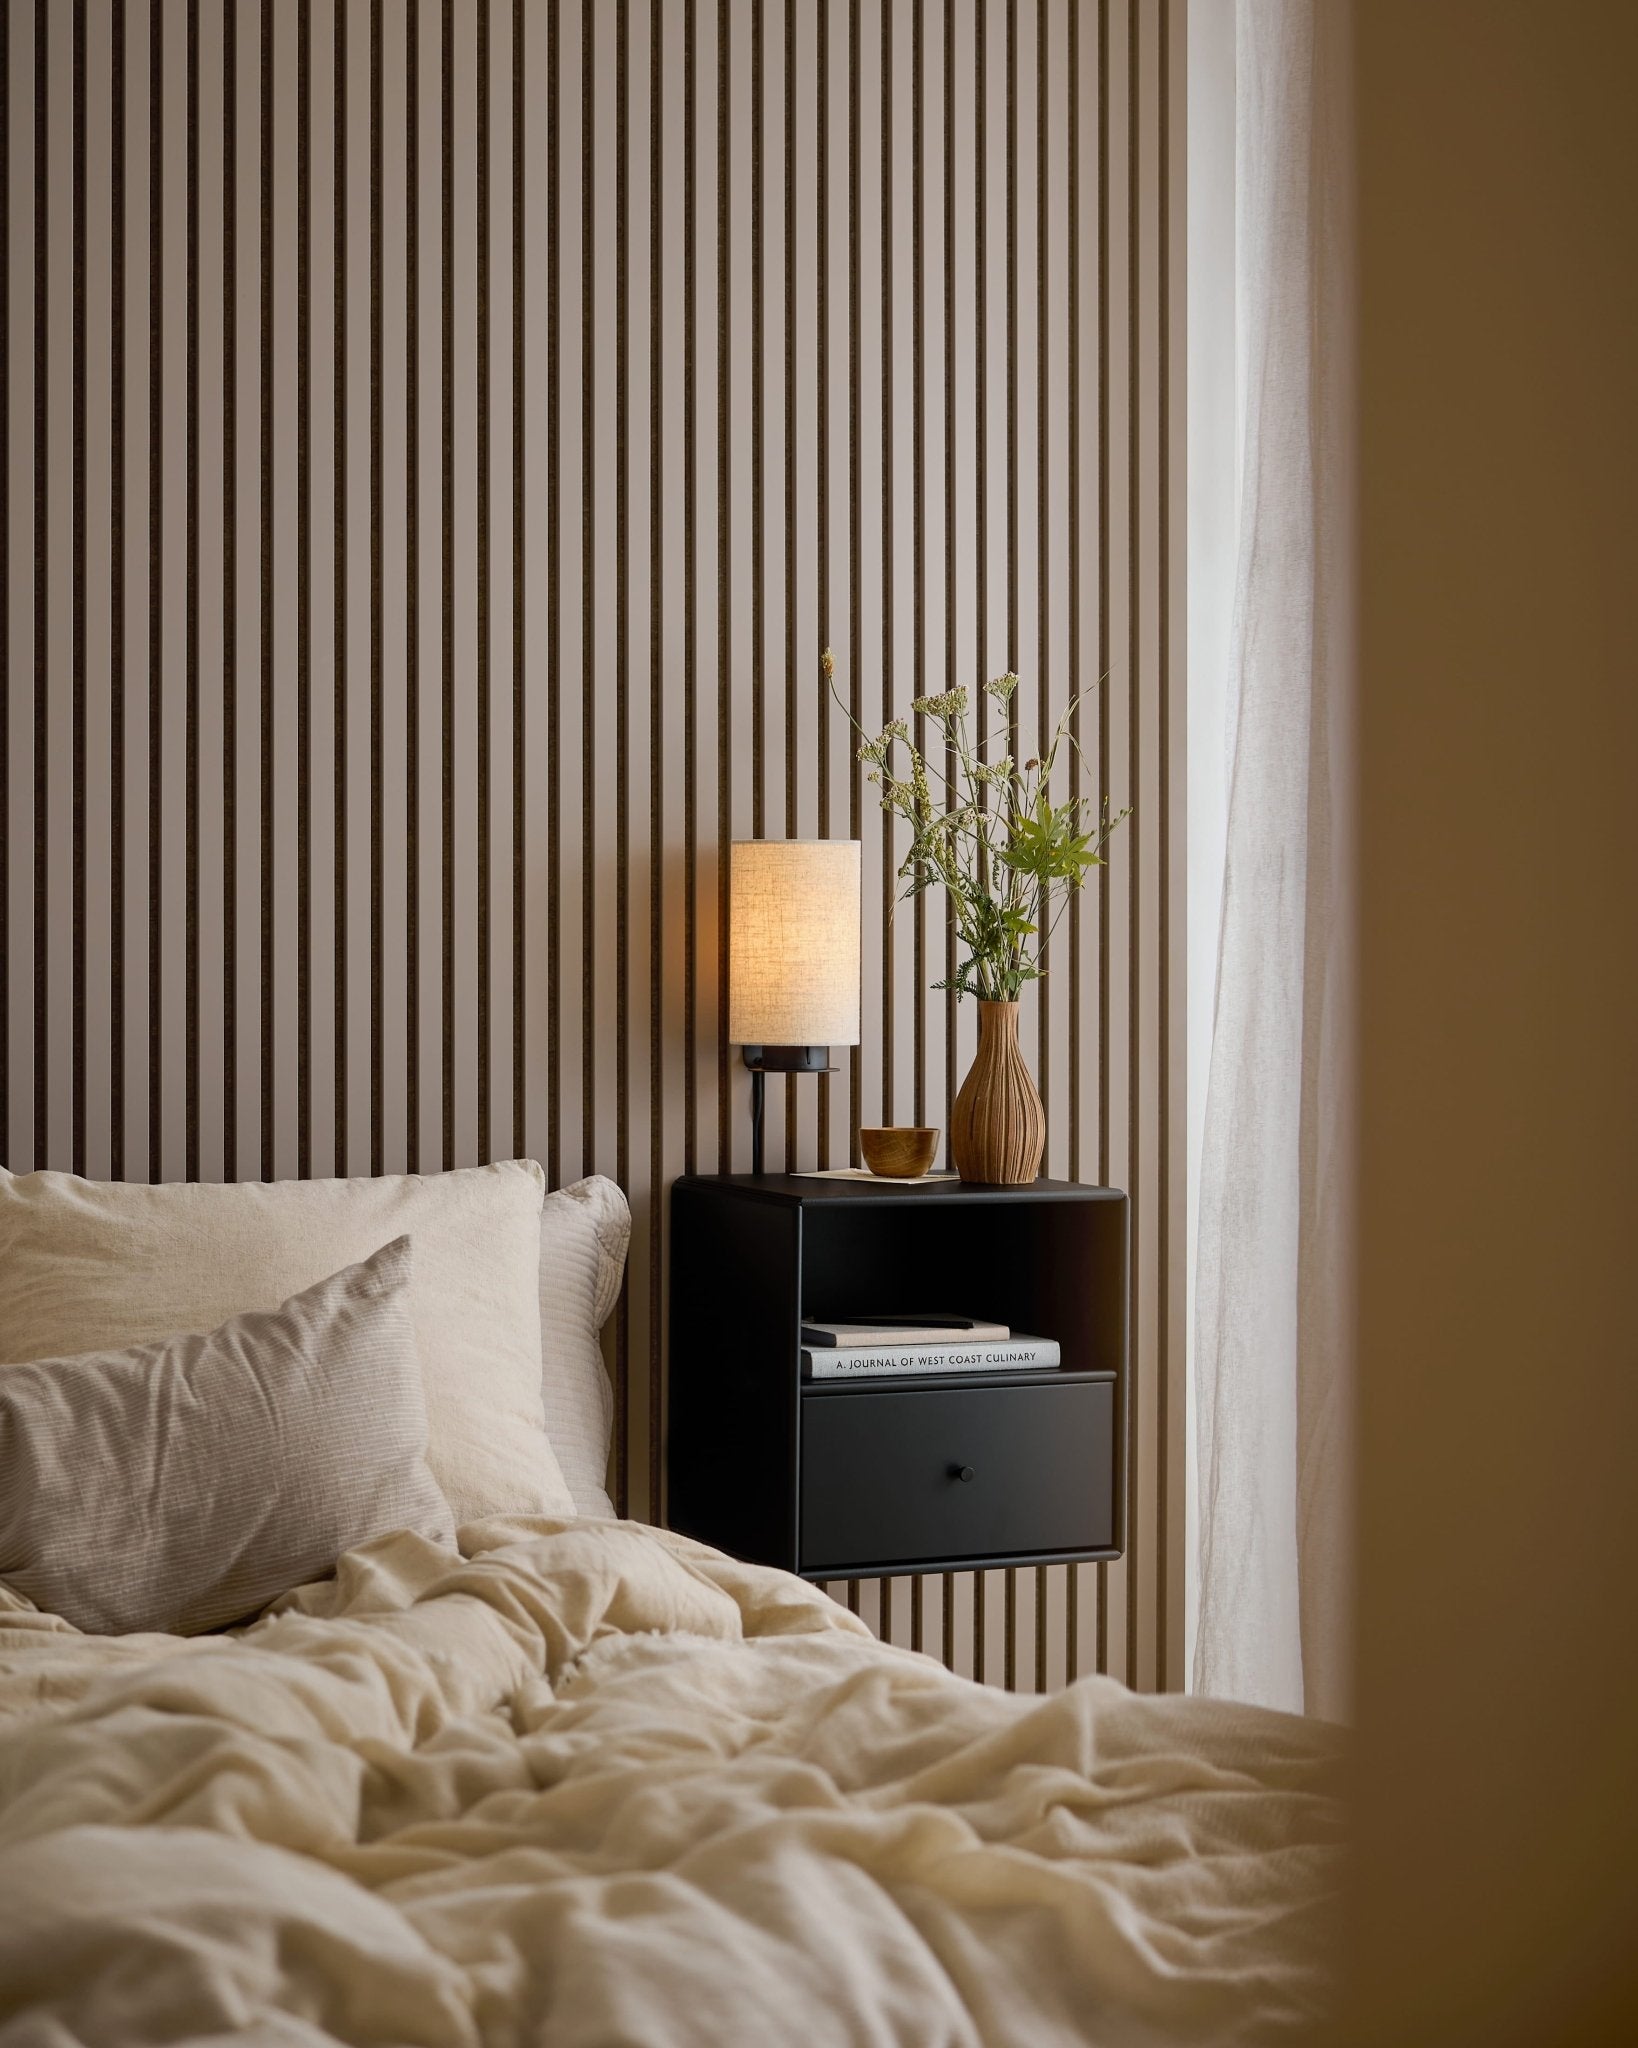
New from WoodUpp: Everything in Our September Launch
Two new Akupanel colors, Luva, Dupps and Arka for Create, Vigg and Vala for Embrace, and Aluwood in 295 cm. Everything new from our September launch, in one place.
Read more
8 Ways to Upgrade Your Akupanels Without Tools
You’ve seen Akupanels before. Maybe you even have them on your wall right now. But what if we told you — you could style them, organize them, even mount a TV on them... without drilling a single hole? That’s not a promise. That’s CREATE. WoodUpp CREATE is our smart collection of accessories made just for Akupanels. They’re easy to use, easy to love, and designed to evolve with your space. Let’s take a closer look at 8 accessories that instantly turn your panels into something personal — and powerful.
Read more
5 Simple Styling Tools to Elevate Your Dining Room
Architect Cecilie from WoodUpp shares her expert tips for a warm, harmonious space When we think about the heart of the home, the dining room often comes to mind. It’s where we gather, share meals, make memories — and ideally, feel at ease. But styling your dining room to reflect both functionality and beauty doesn’t have to be overwhelming.
Read more
More Than Panels - This Is What We Stand For
Calm, comfort and connection – the heart of WoodUpp design Your home isn’t just where you live. It’s where you belong. That idea shapes every product we design at WoodUpp. We’re not here to fill walls. We’re here to help you create a space that feels good – visually, physically, and emotionally.
Read more
LED lighting for your wall panels
Discover how you can transform your living room LED lighting is the latest trend in interior design and offers many benefits for transforming your rooms. Adding a LED light to your decor, especially due to its energy efficiency and long lifespan, can make a big difference.
Read more
The kitchen is often considered the heart of the home, a place where functionality meets aesthetics. With WoodUpp’s innovative acoustic wall panels, you can enhance both aspects, creating a space that is not only beautiful but also acoustically optimized.
Read more
The dining room is more than just a place to eat; it’s where stories are shared, memories are made, and gatherings come to life. To elevate this central space in your home, WoodUpp’s innovative acoustic wall panels would be ideal.
Read more
Choosing the perfect Akupanel color
Acoustic panels are an excellent way to enhance both the aesthetics and sound quality of a room. Not only do they add visual appeal, but sound-absorbing panels also improve acoustics by absorbing sound waves and reducing echoes.
Read more
Are you, like us, captivated by home decor and forever hunting for new inspiration and trends? Then you’ve come to the right place!
Read more$0.00
